In this project I took detailed photo step by step on how to upcycle this empty wine bottles.
There are so many ways you can reuse or upcycle empty wine bottle. It just takes a little time and imagination.
When I saw some empty bottles with different shapes and sizes in our workshop. I thought it will be nice to reuse it instead of taking them to bottle depot. I always wanted to apply the techniques I have learned to each of these projects. My goal... is to turn bare empty bottle to something unique and useful, beautiful for home decors or even for gifts.
Purple Grapes

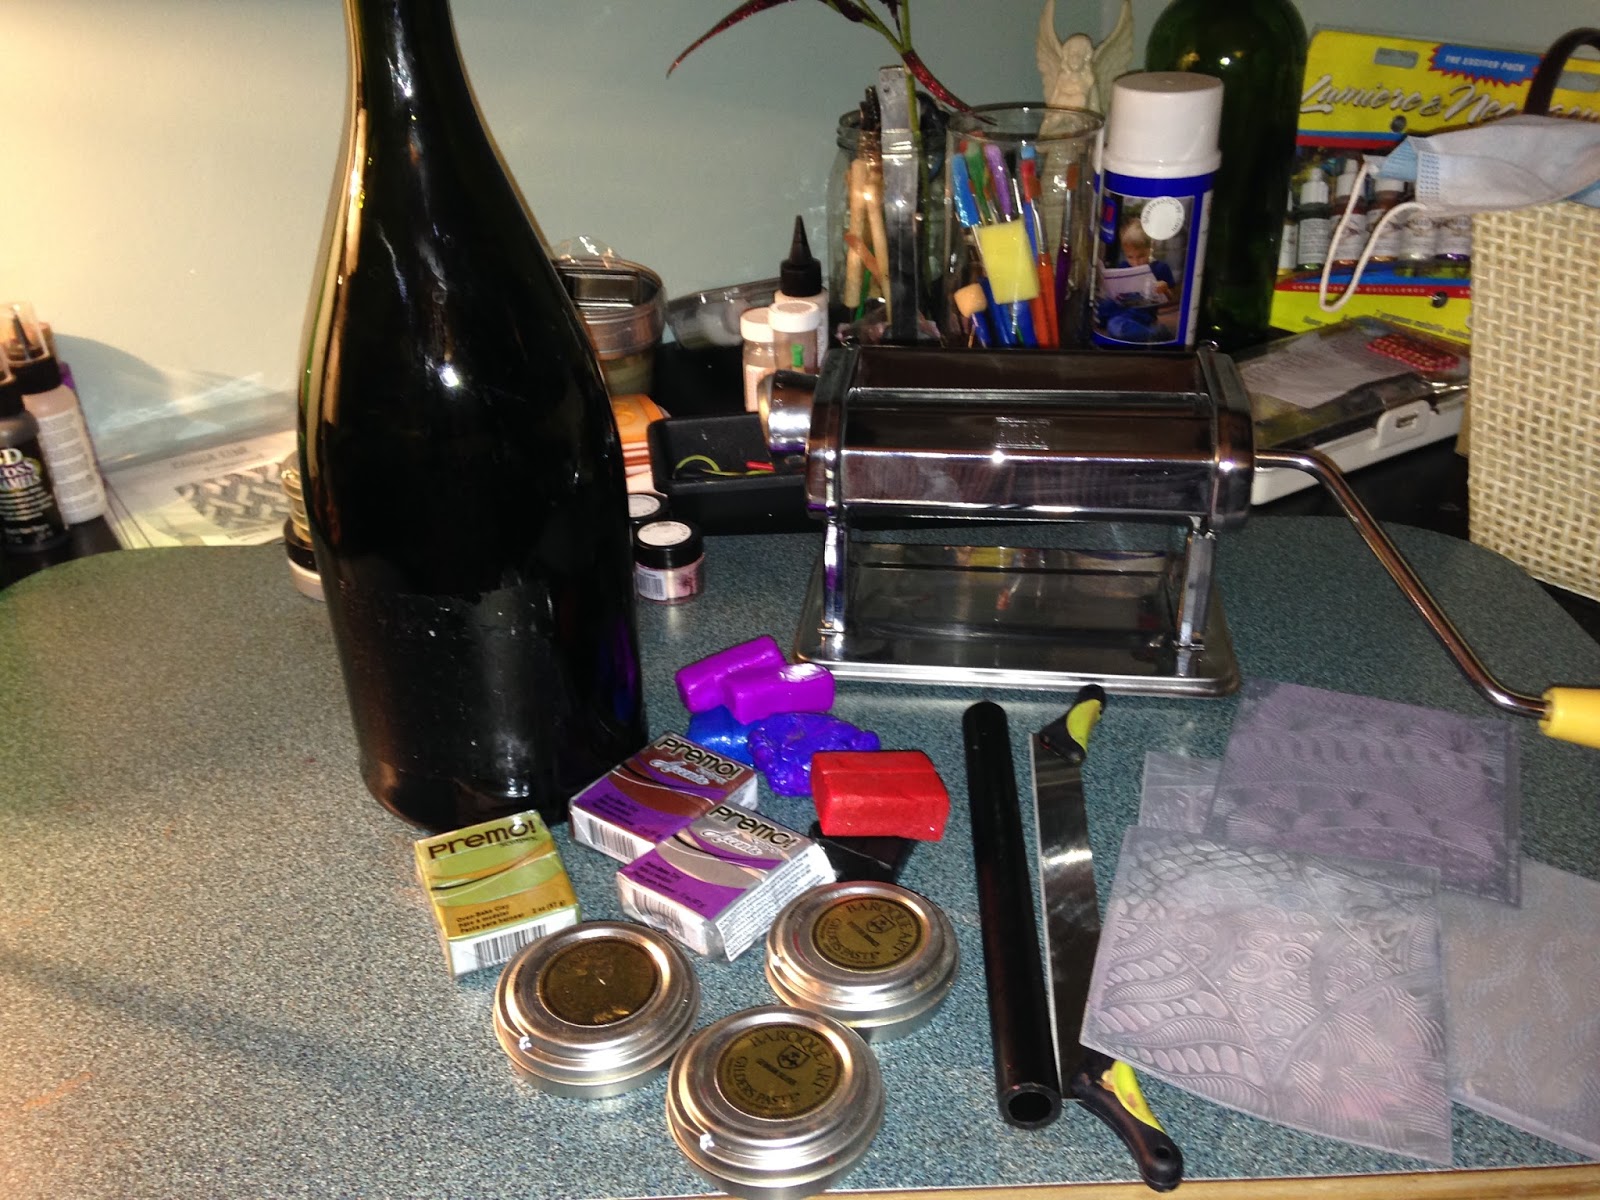
To begin here's the materials I used:
Clean Empty wine bottle of your choice
Clays - I used black, copper, silver, olive, purple & blue
Your basic tools for polymer clay
Rubber texture pad - I used Helen Breil's congo line
Pearl ex pigments - purple & white
Gilders paste - gold, german silver & bronze
First step: Condition the clay.
I run each colours several times in the pasta machine
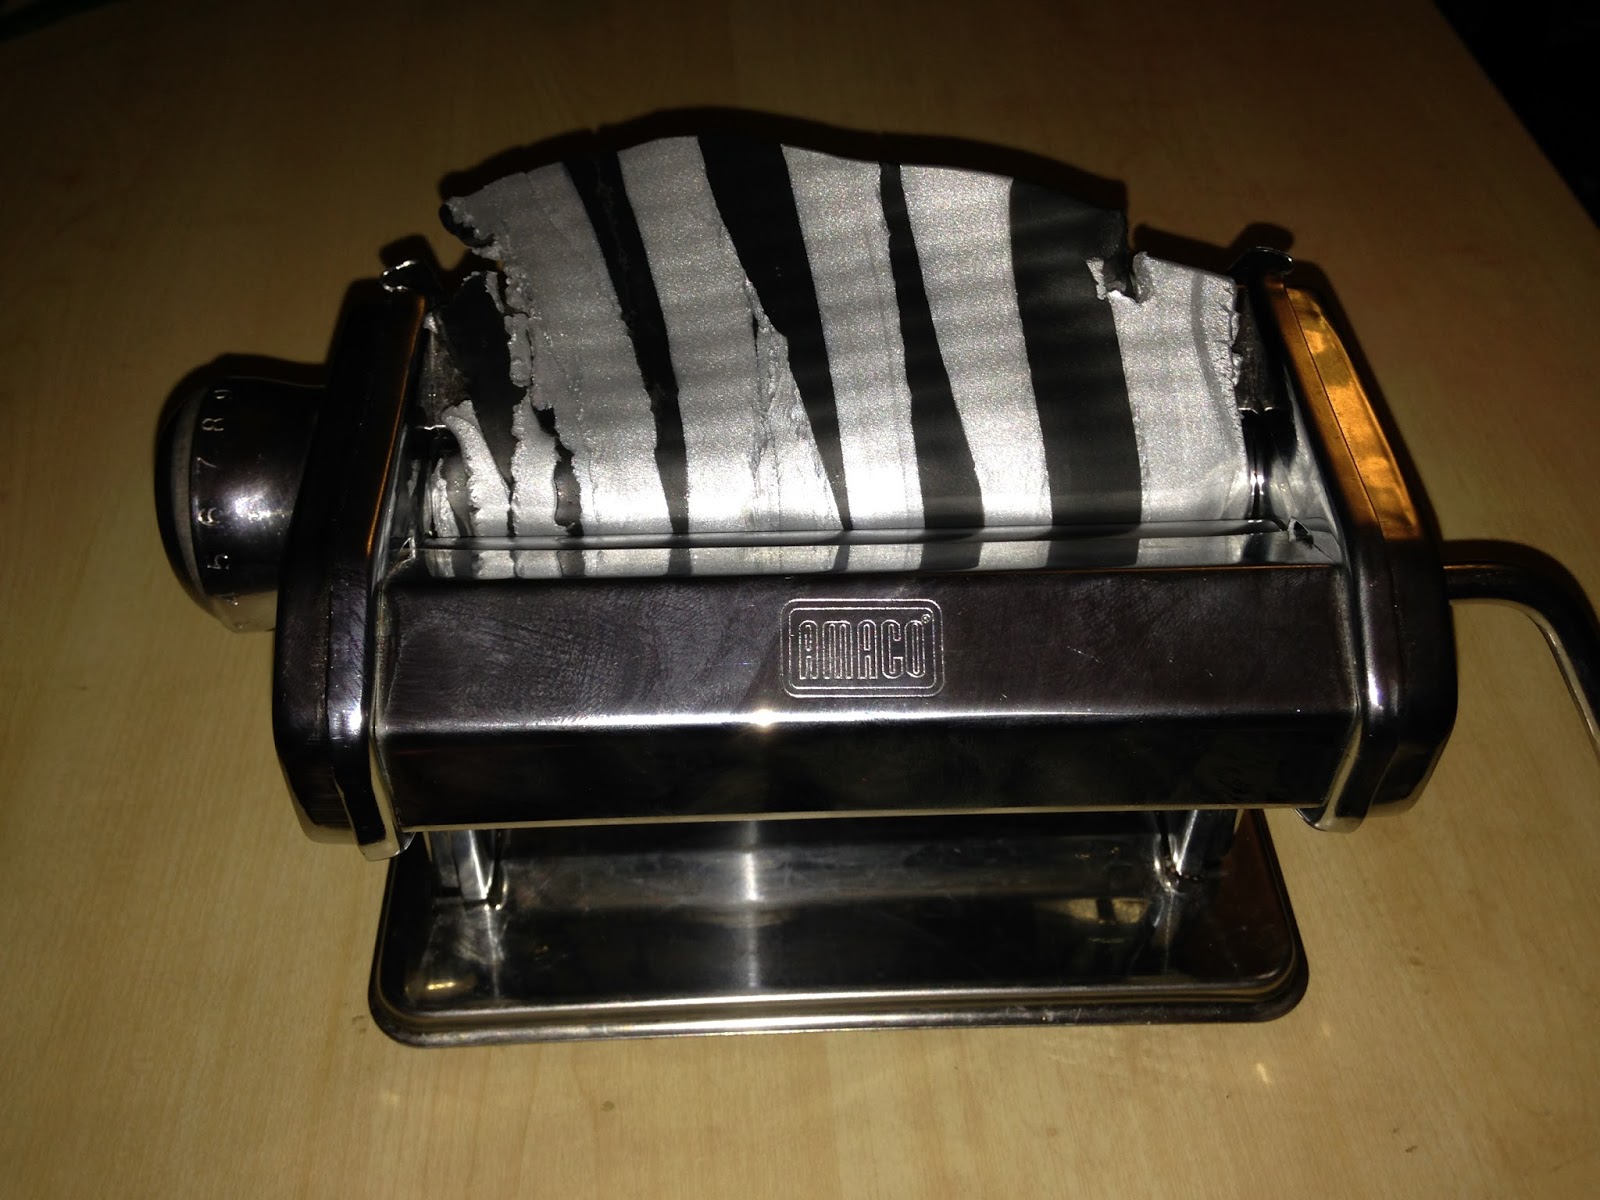
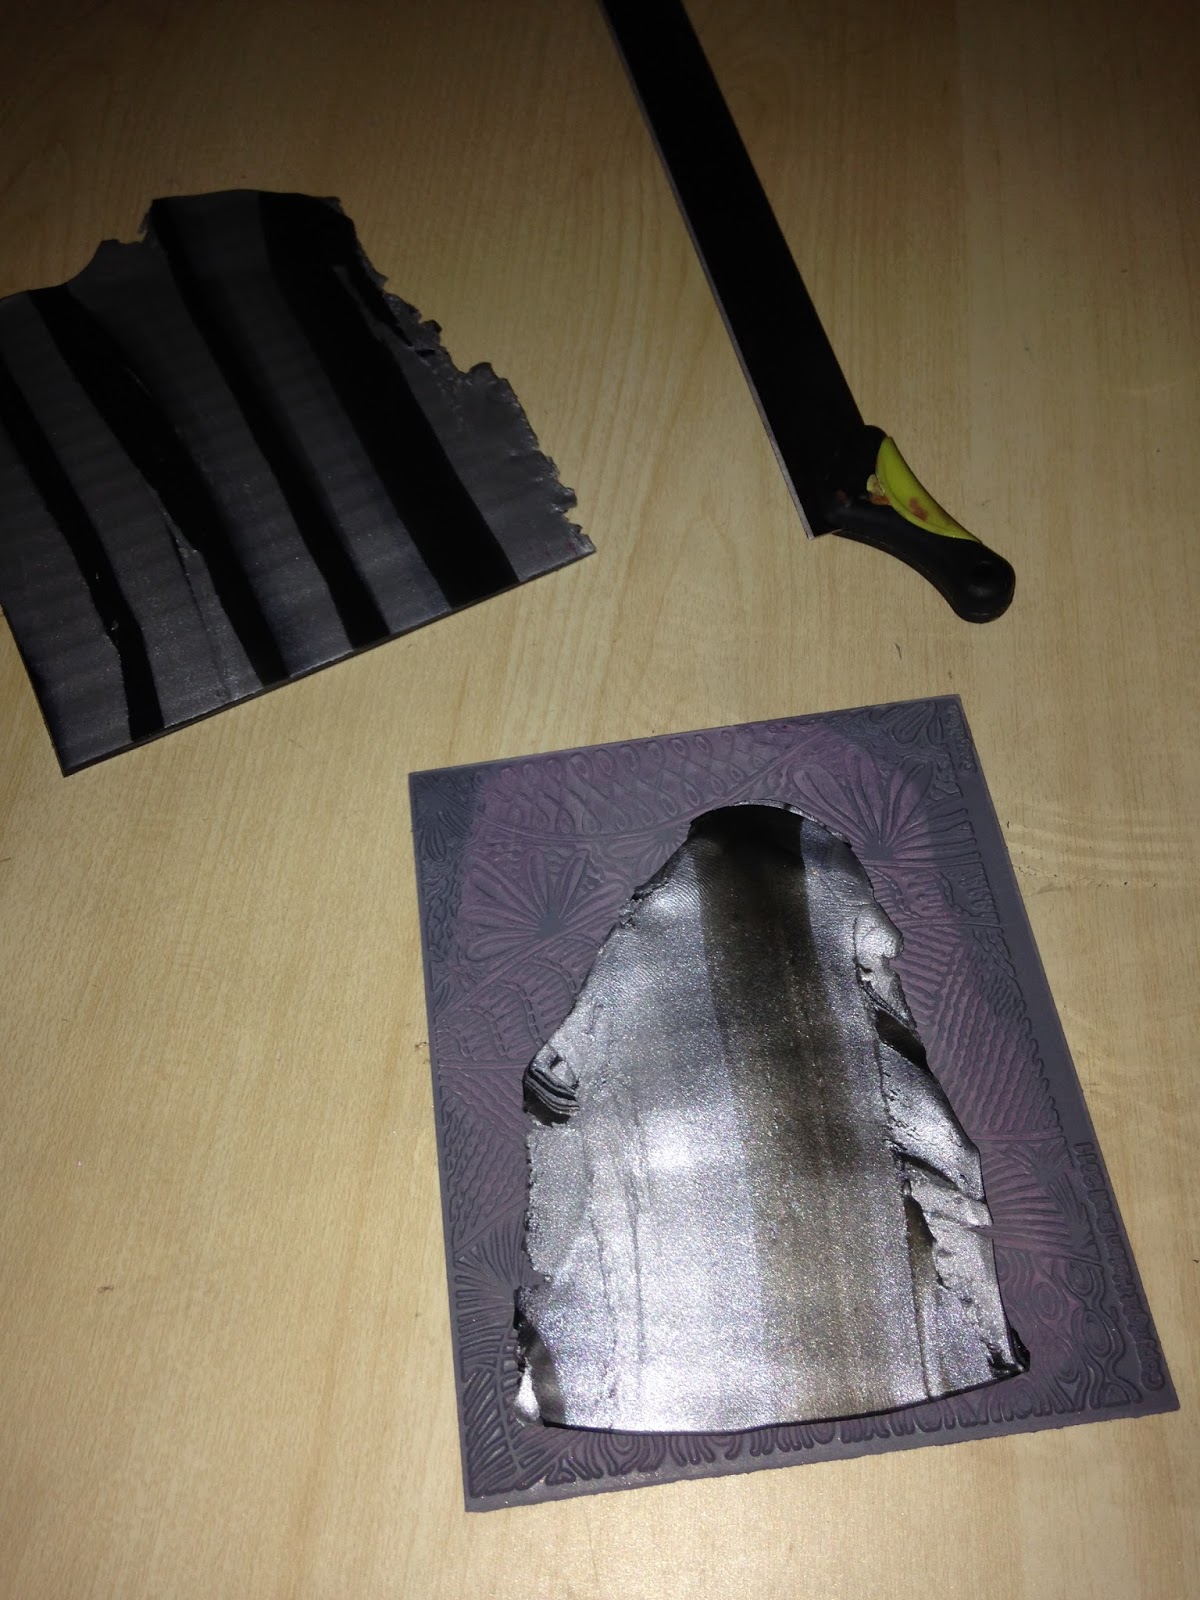
I wanted to have a greyish silvery look on my bottle so I combined silver and black for the cover.
Here's how I combined it. You can also use the proper
way of blending colour but I have the habit of twisting it just to create a nice effect.


I run it a few times to the pasta machine using setting 5 or 6 to achieve the tone I like.
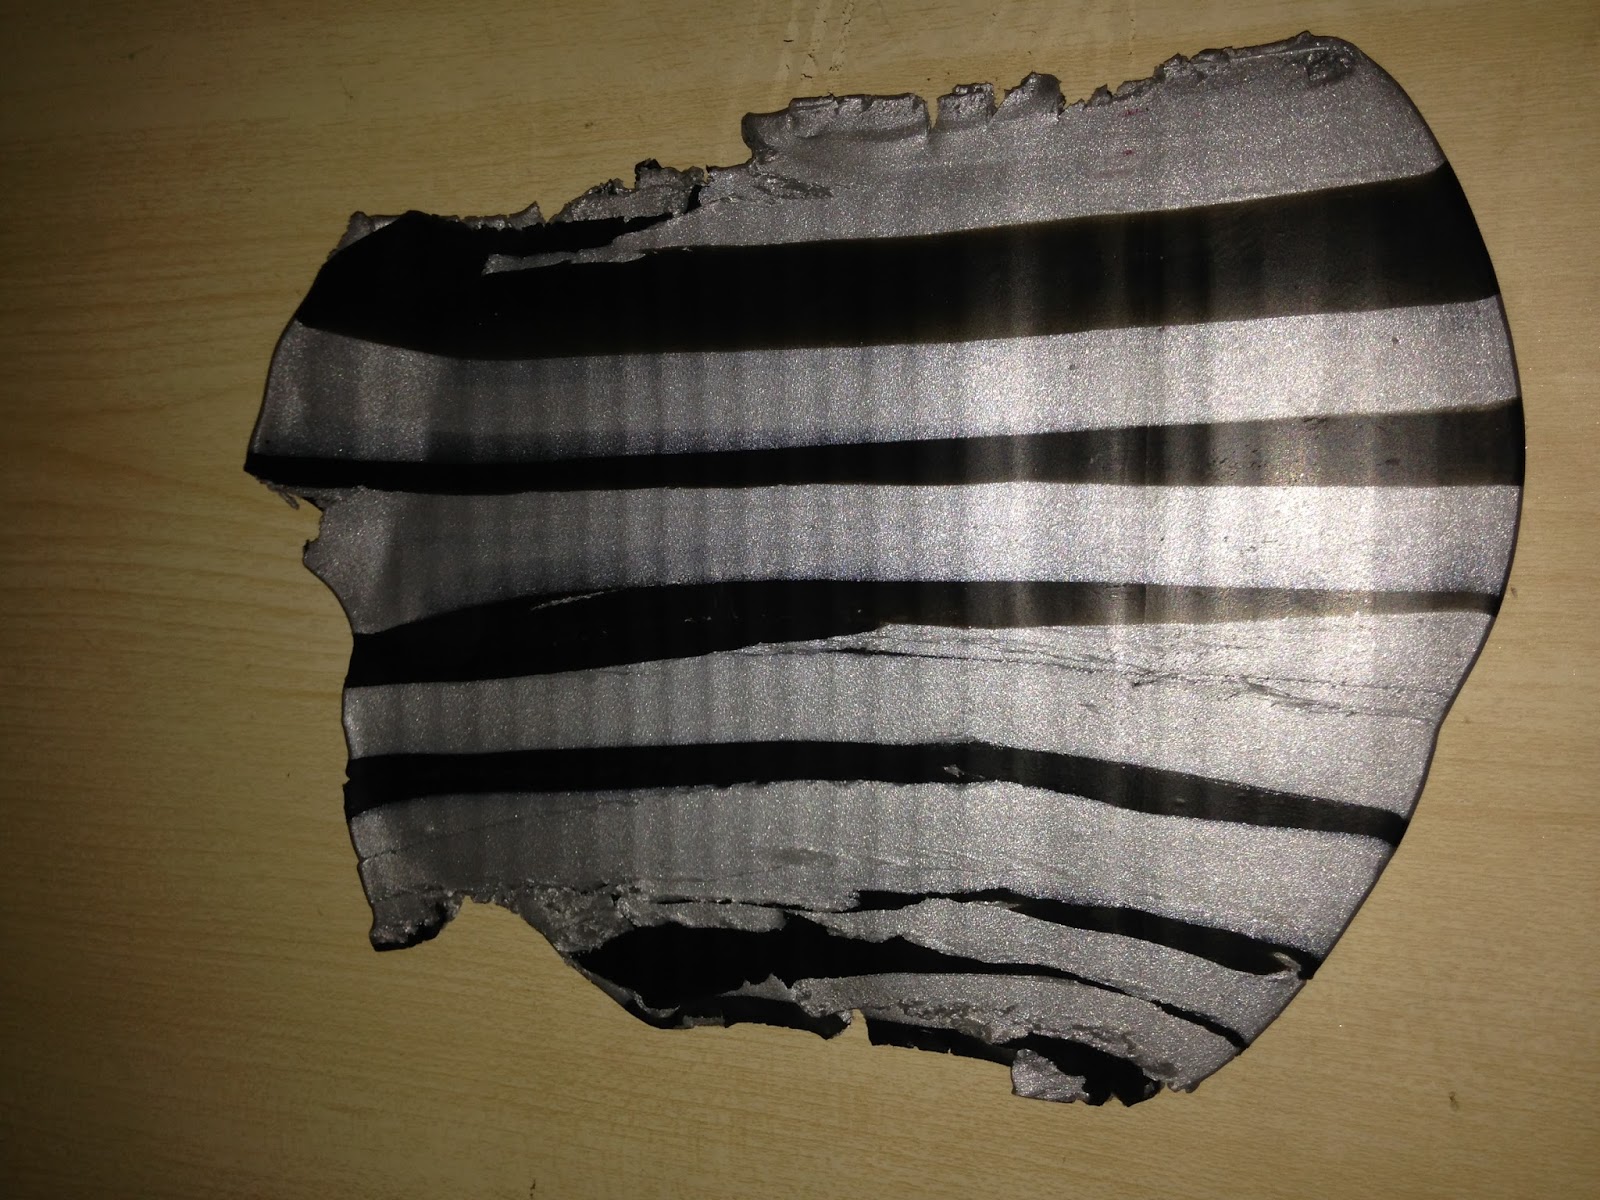
Once I'm happy with the blend of colour, I cut a small piece to start creating my textured cover.
I run that cut piece to the pasta machine at setting 4.
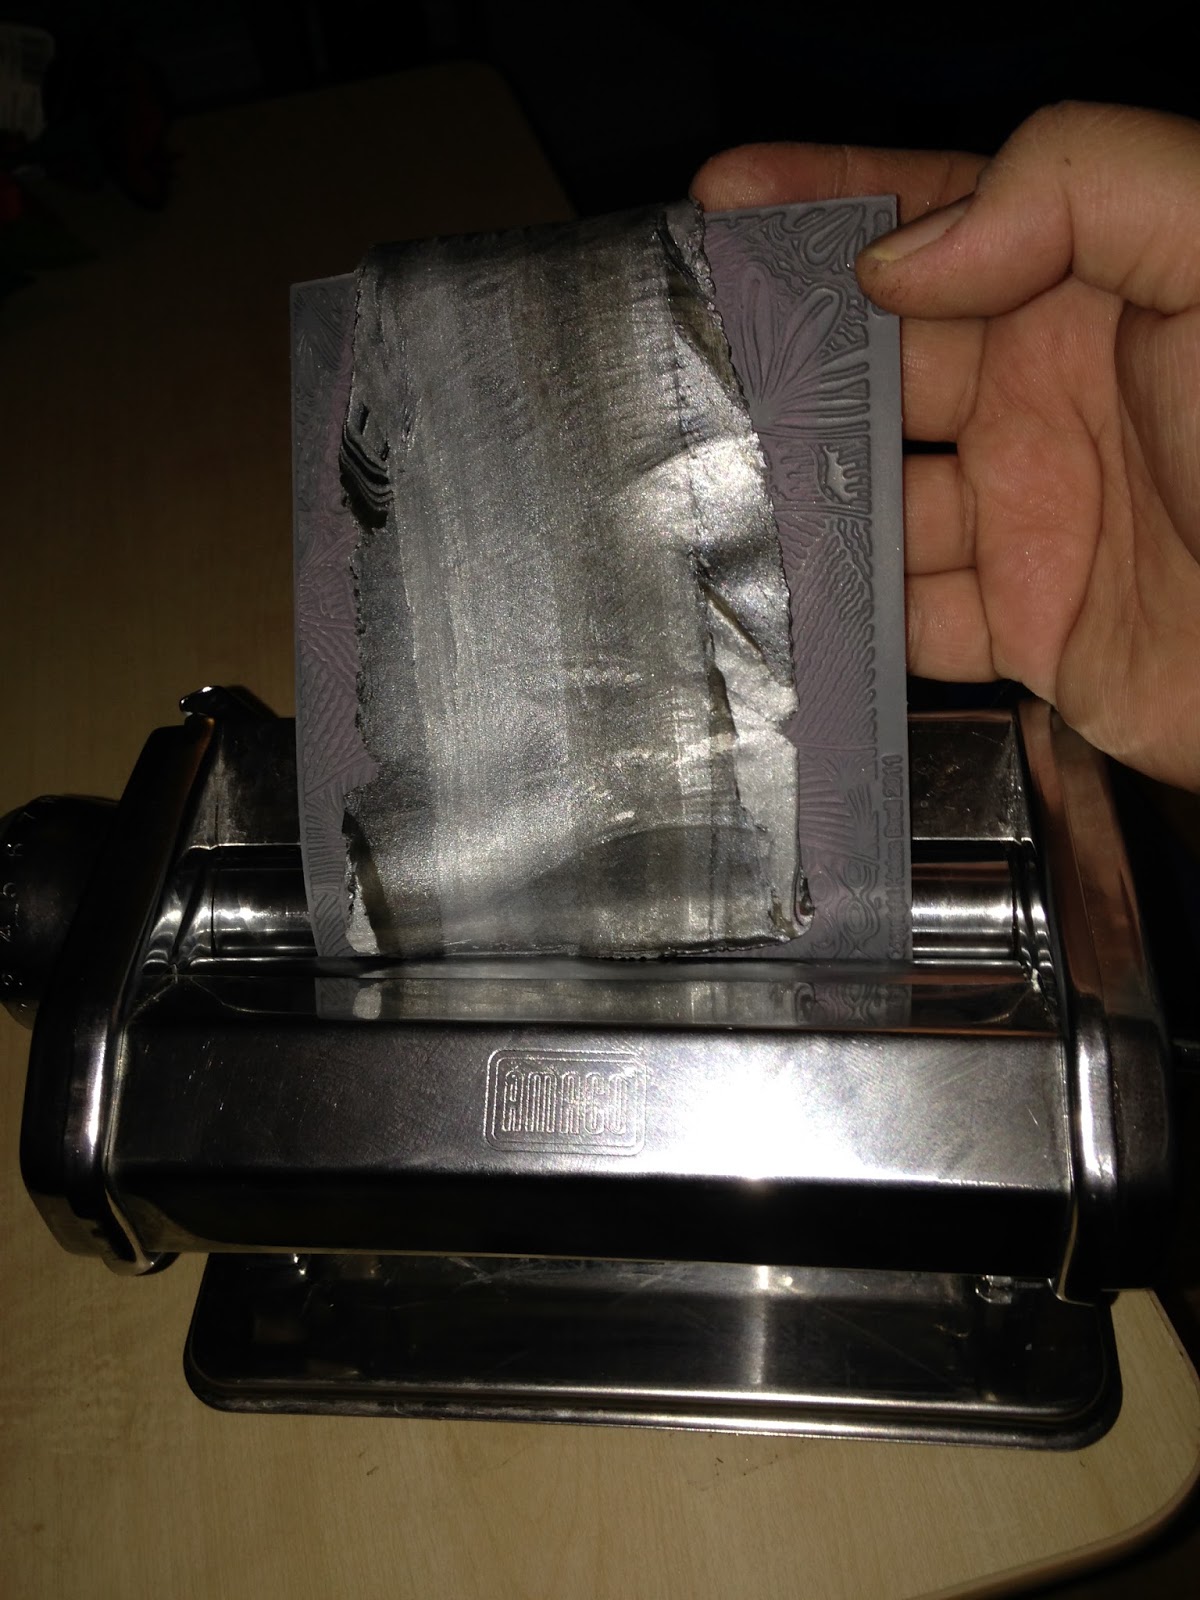
Then I layer it flat on top of my textured rubber sheet.
This time, I will run it in pasta machine with the textured sheet. Place it to lower setting maybe on 3.
Tip: if you find that the clay sticks to your rubber sheet then spray a little water on your rubber sheet before running it to the machine.
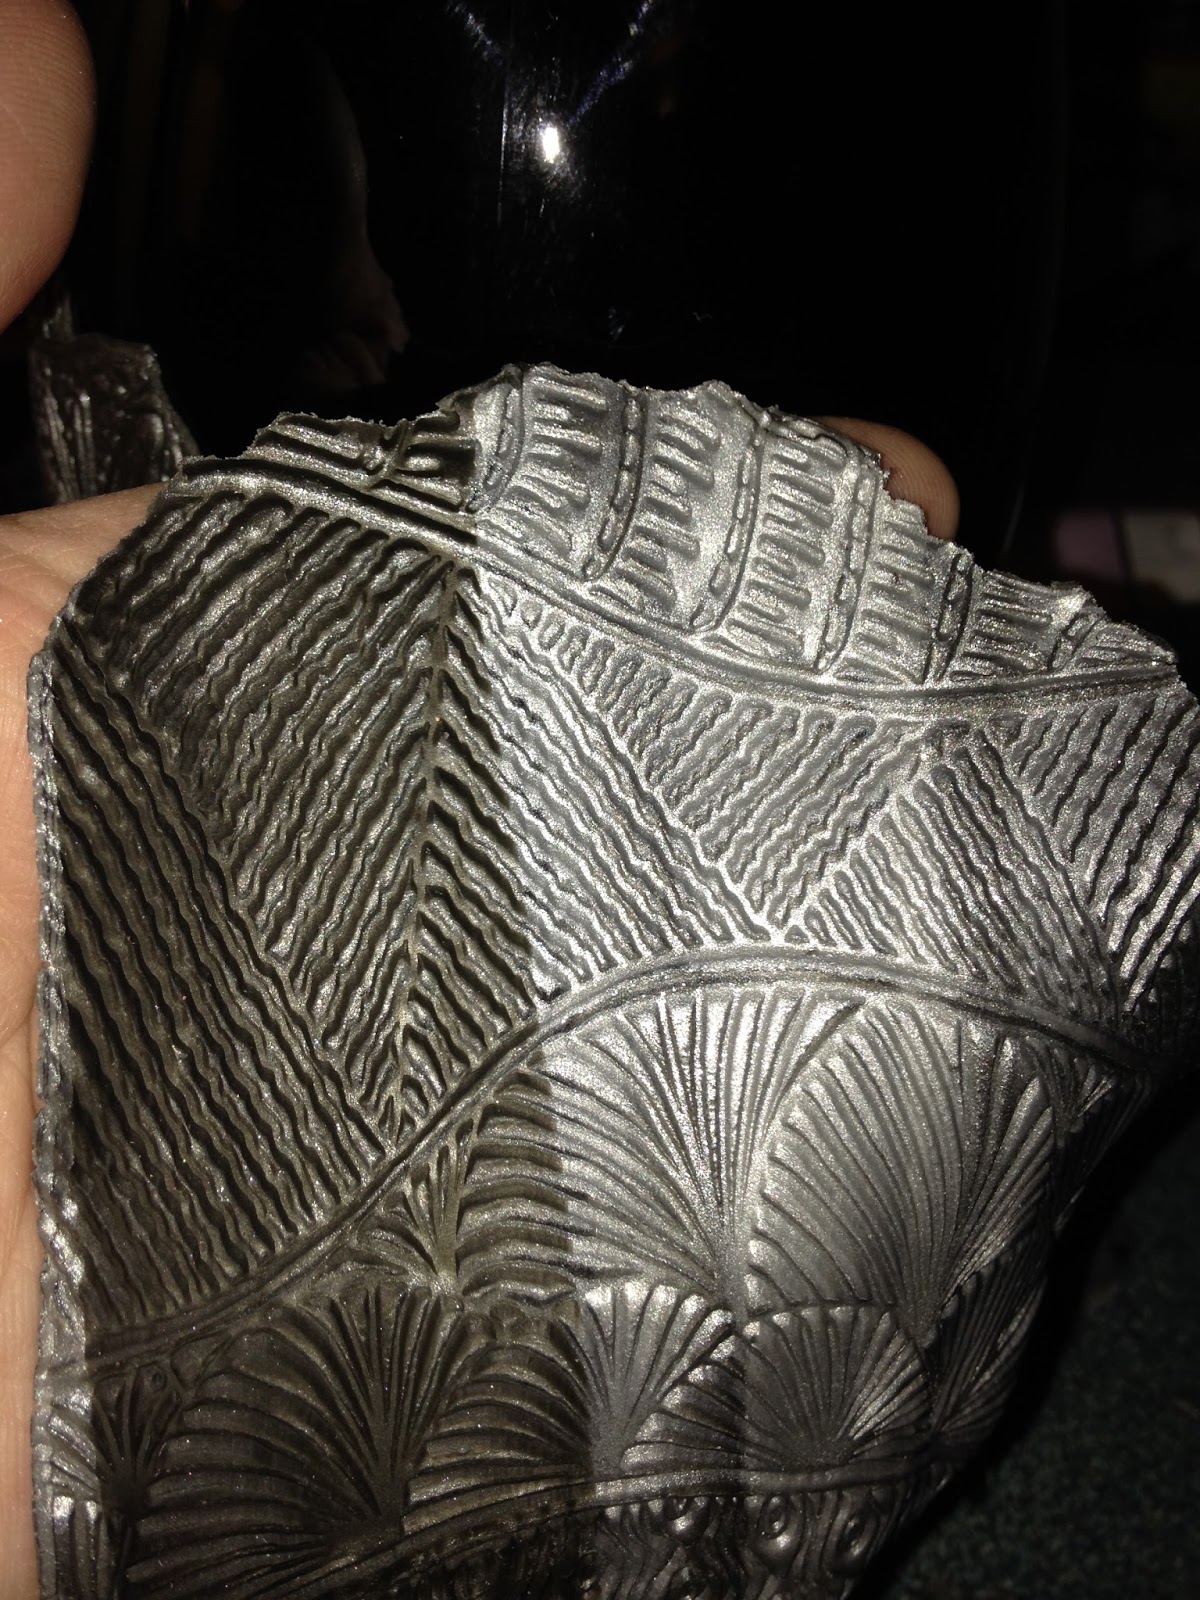
Here's how it looks after running it into the pasta machine. I wanted to create a distress look so I tear the sides of the clay before placing it on the bottle.
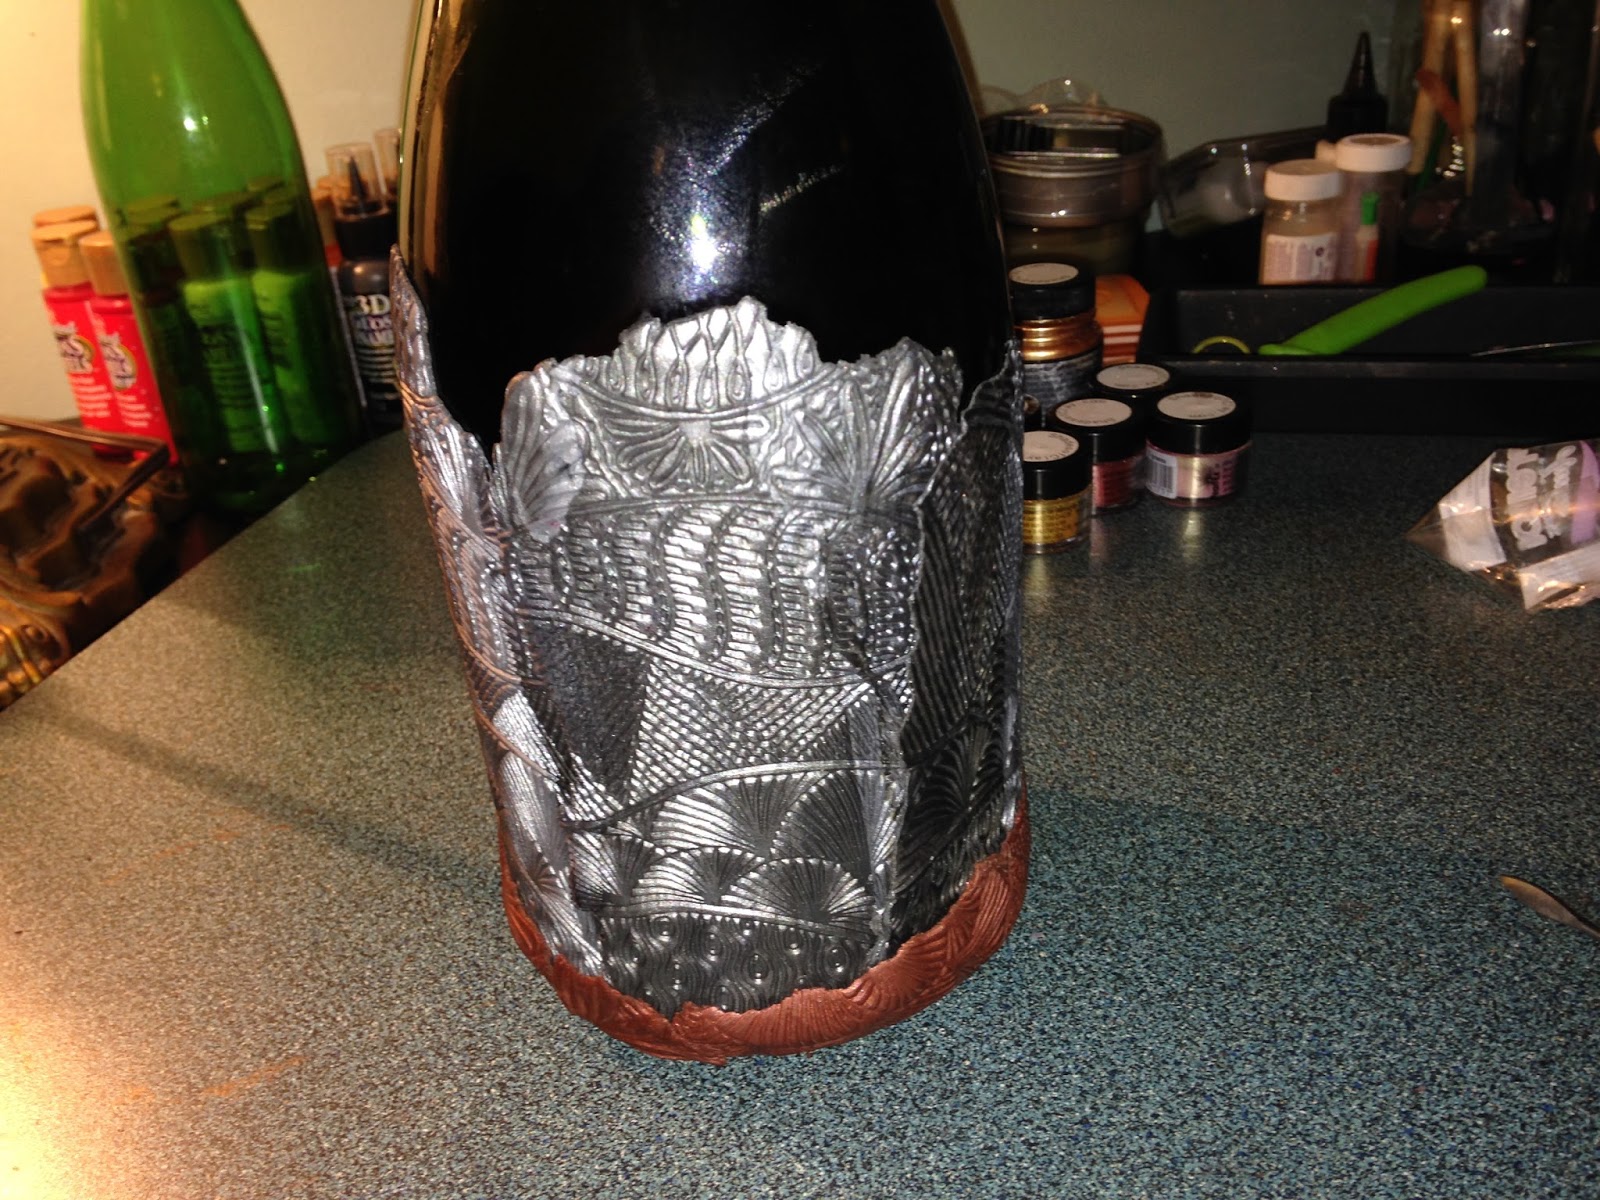
Time to cover the bottle.
I wanted an uneven look so I vary the sizes of the textured clay.

When all sides were done then I work on the bottom. It's optional to do this part next. It can be done as the last step but I don't move my bottle often once I'm working and I wanted to see how it looks before going to more details.
I picked the copper colour for the bottom and did the same technique above.


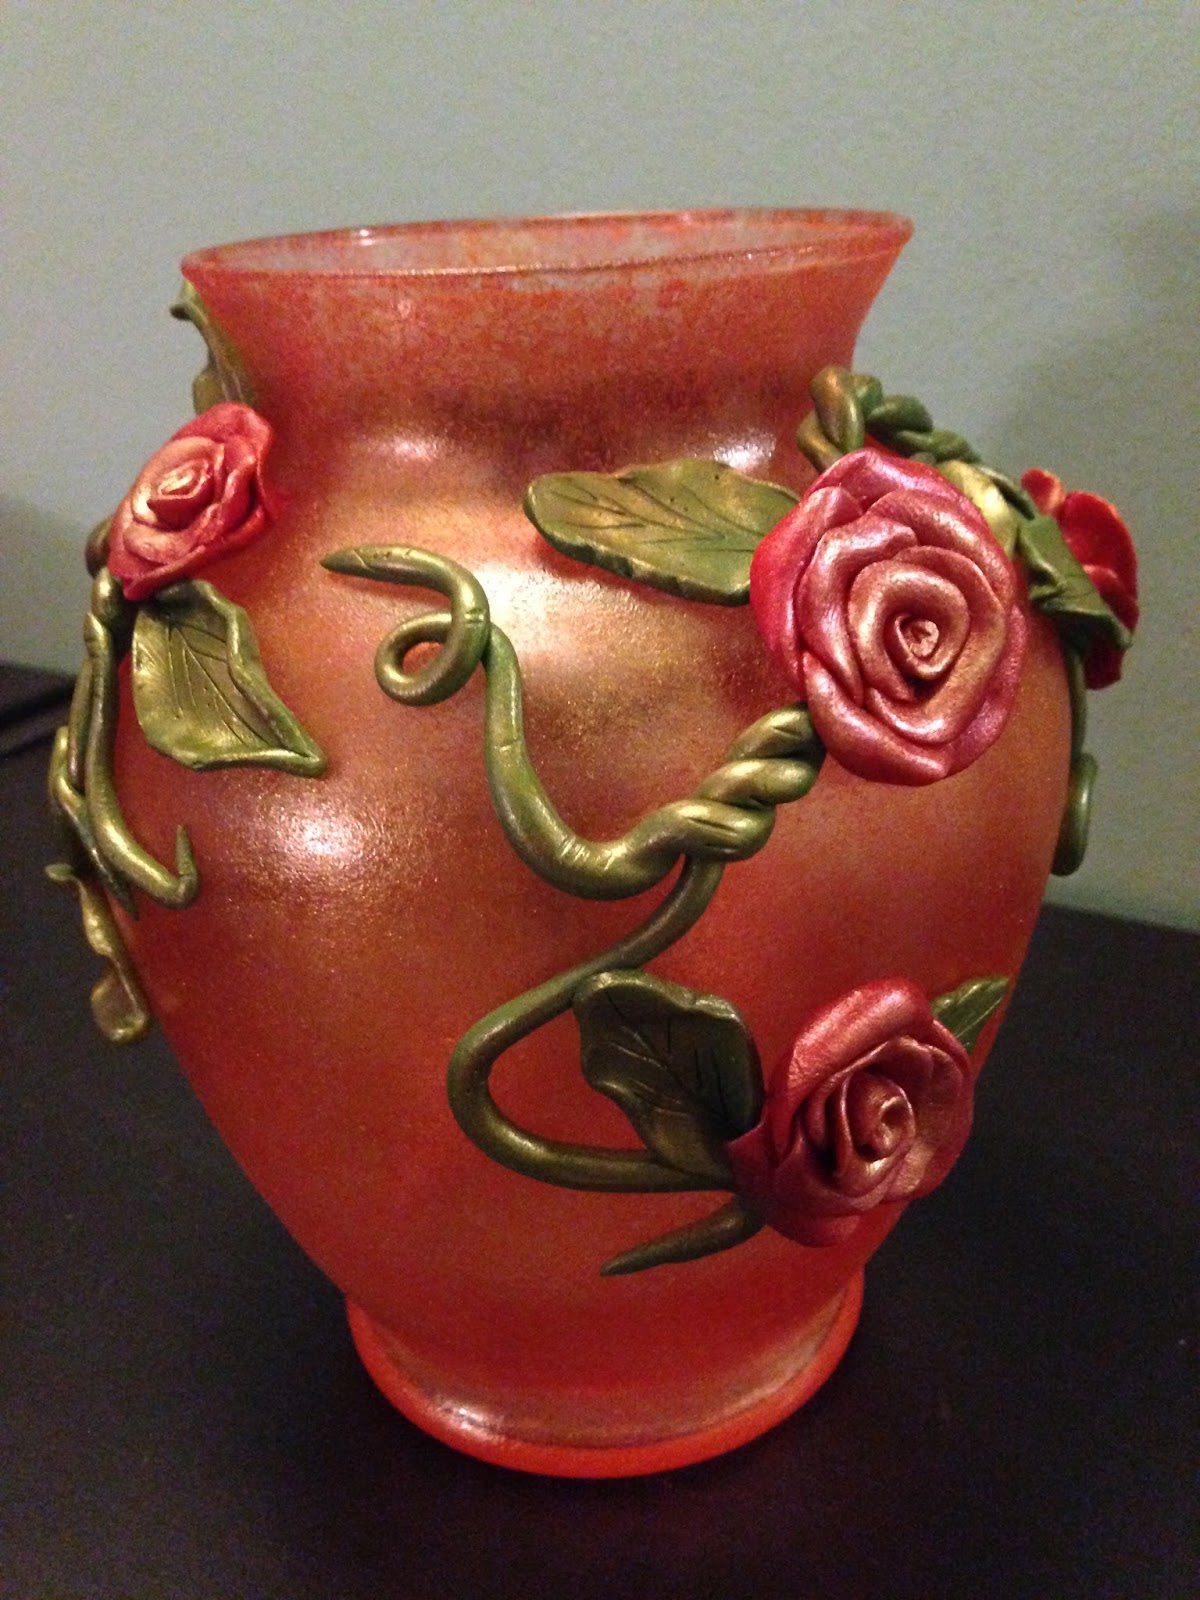
It's almost done. I covered the entire area where I wanted and now I'm going to create some more details at the top. This process may take longer. It depends on what design you have in mind. I was thinking about grapes and vines for this bottle. It will make a lovely accent piece for a wine bar or beside a small wine rack.
For the vines and leaves I used copper and olive together.
Here's the colour I wanted to create but if you think you would like to leave it green or more darker. Just go ahead and play around with it.
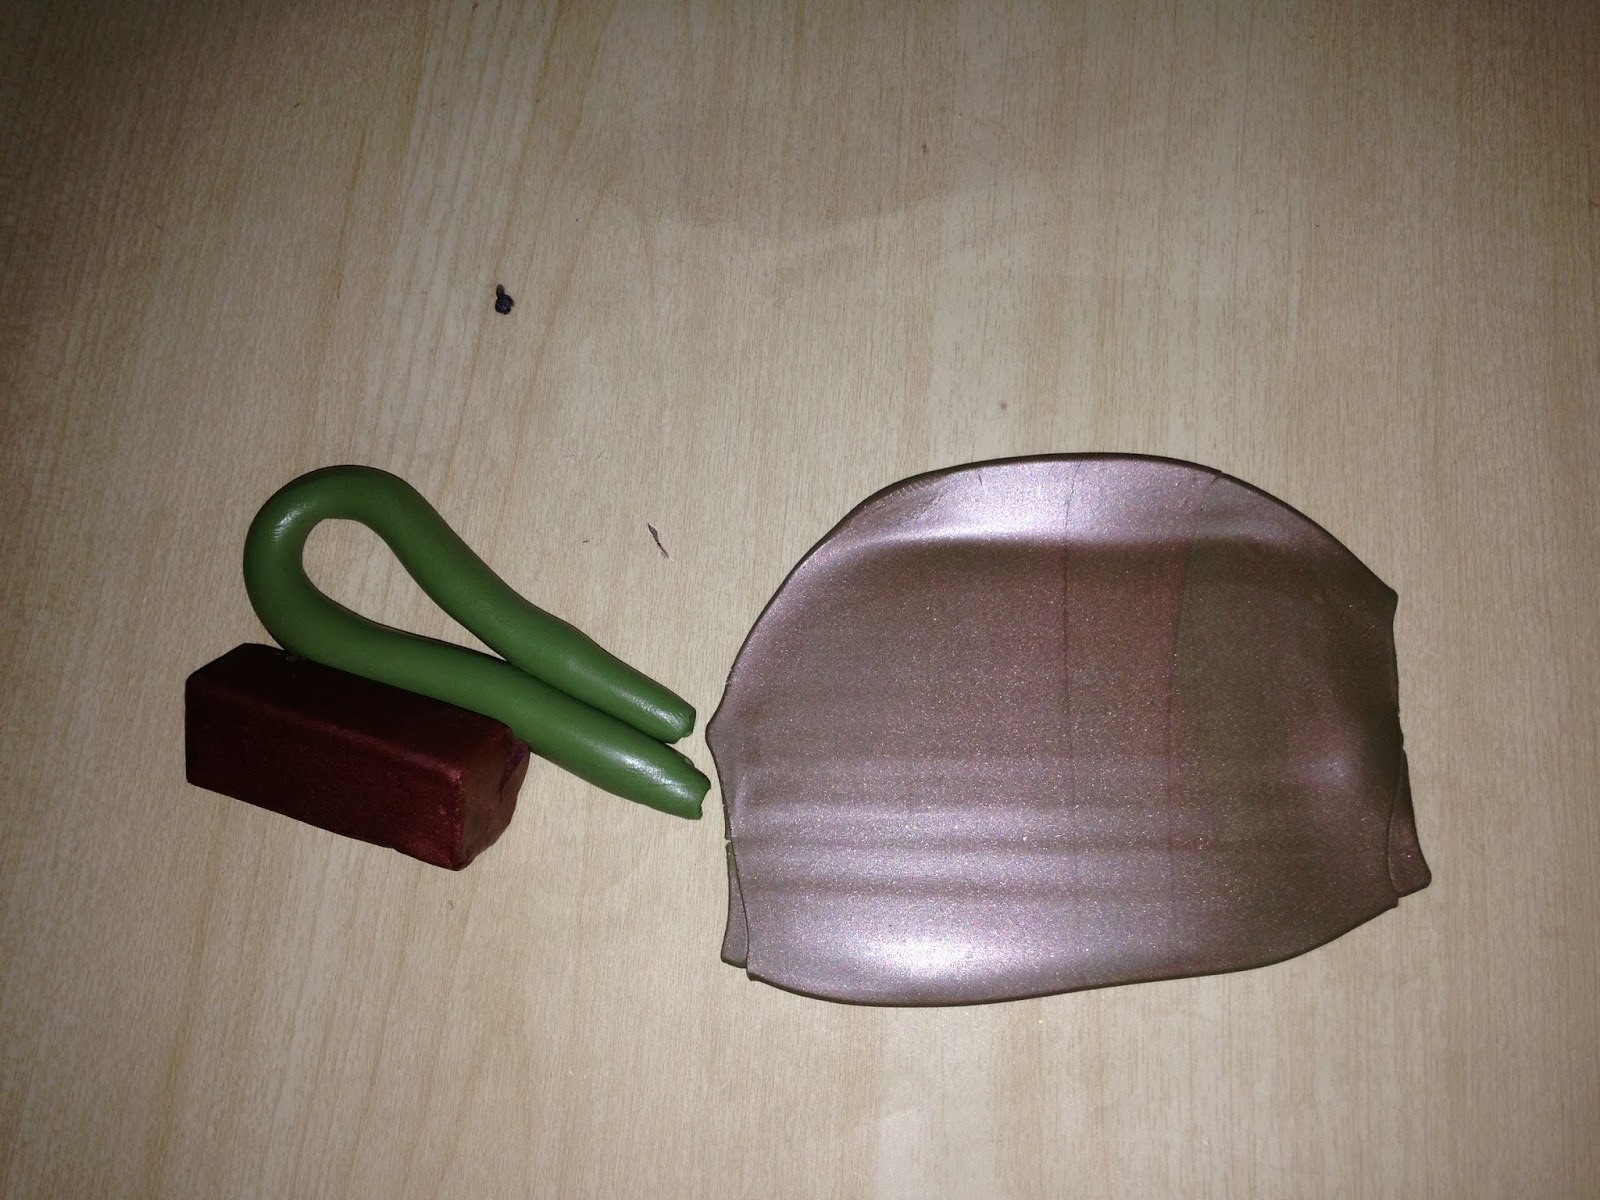
For the grapes I chose this colour and combined it to get a purple colour.
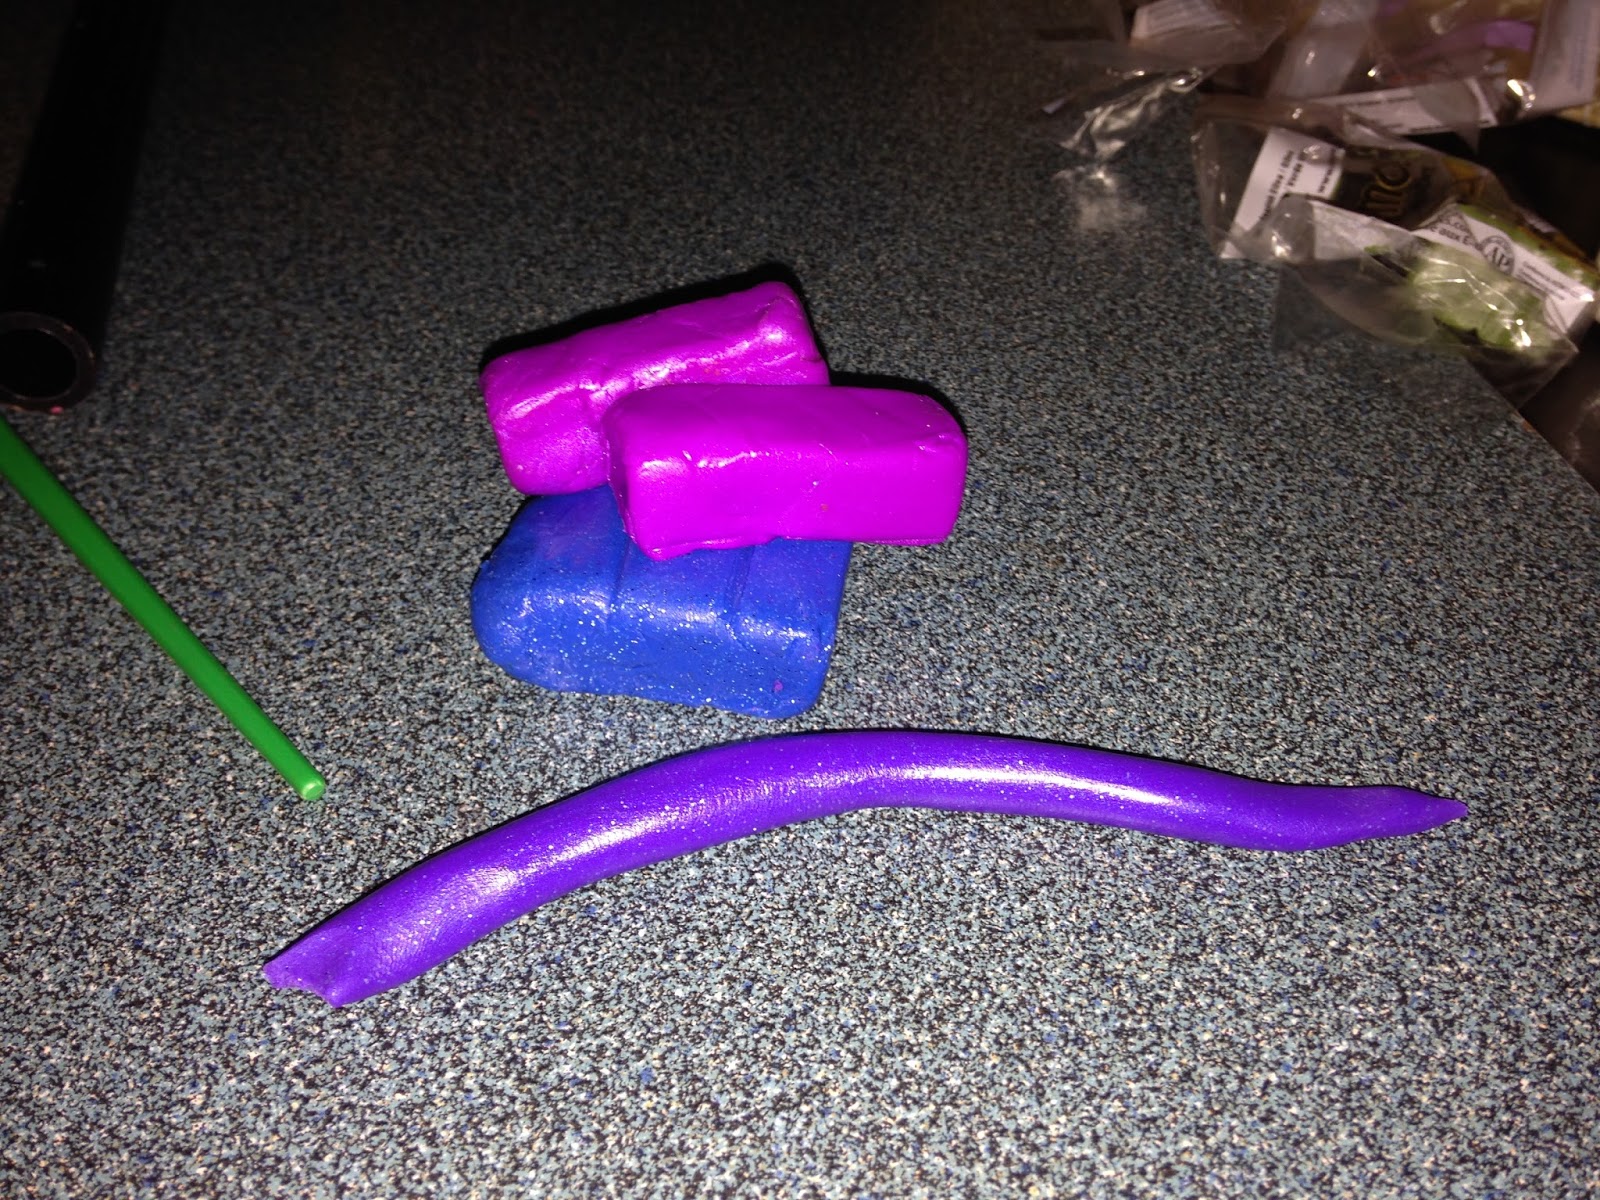
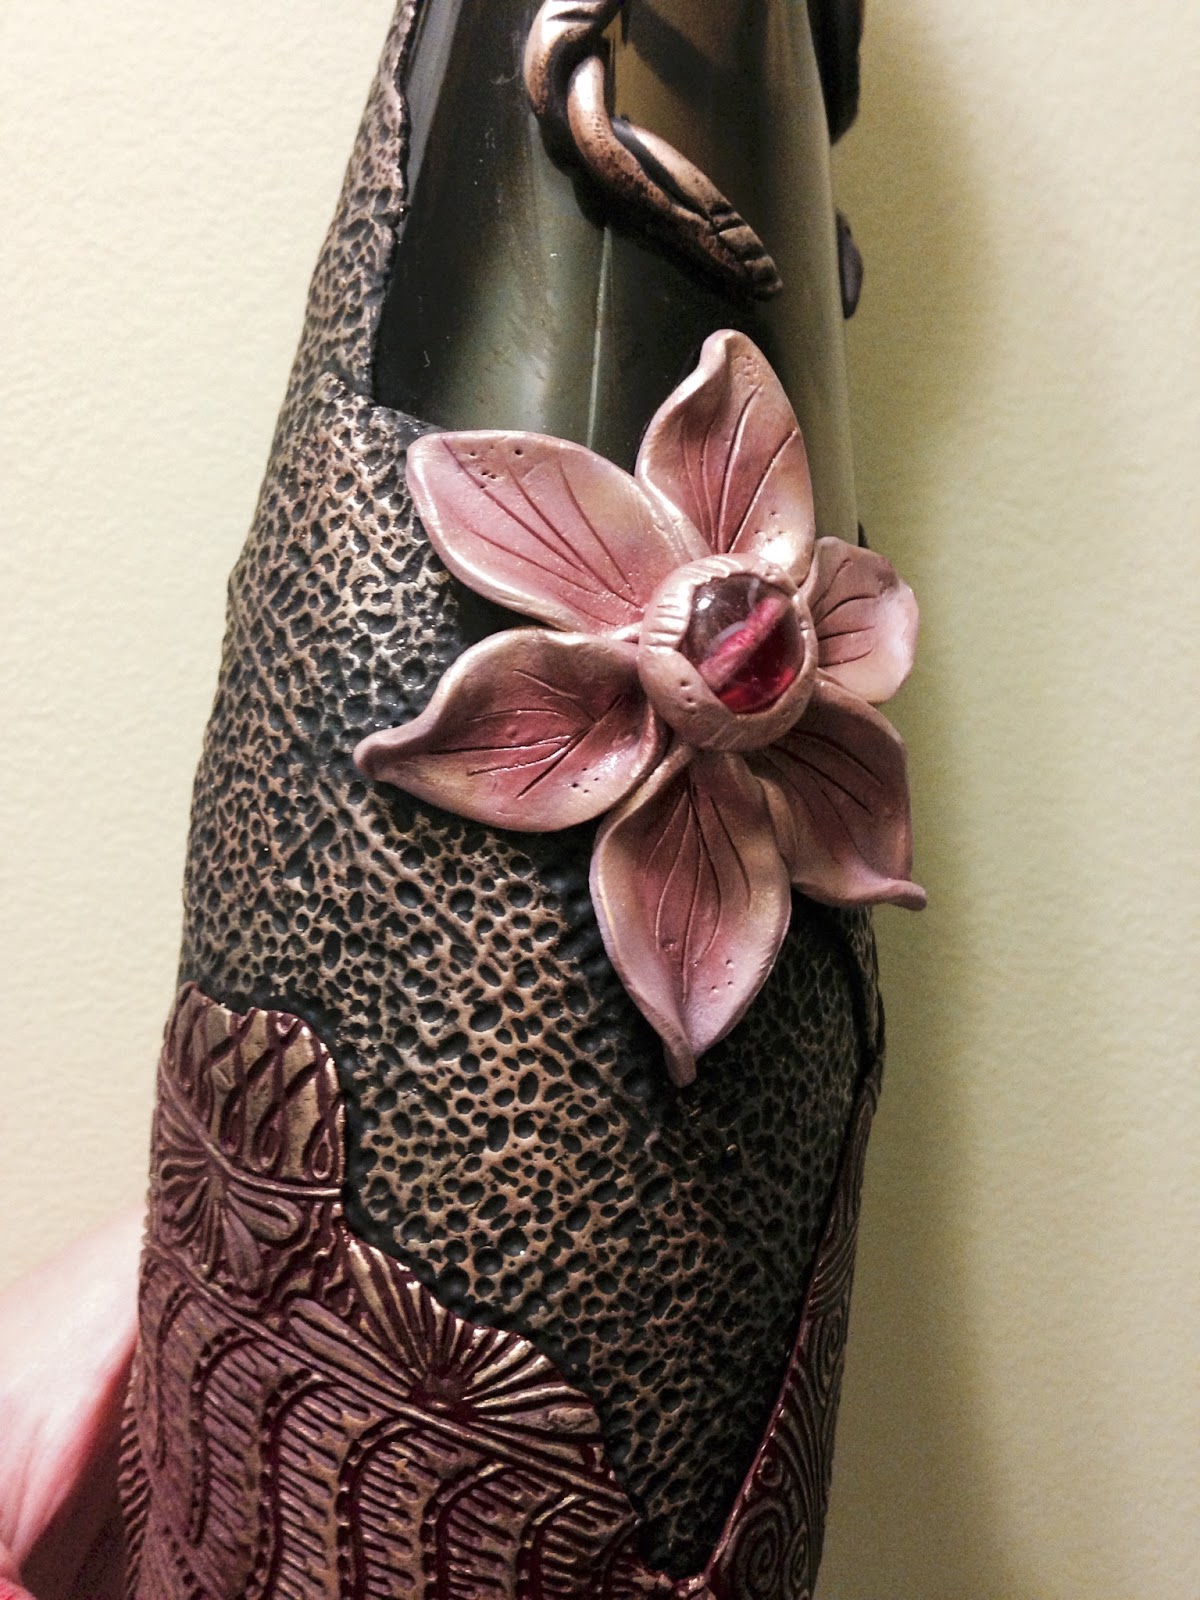
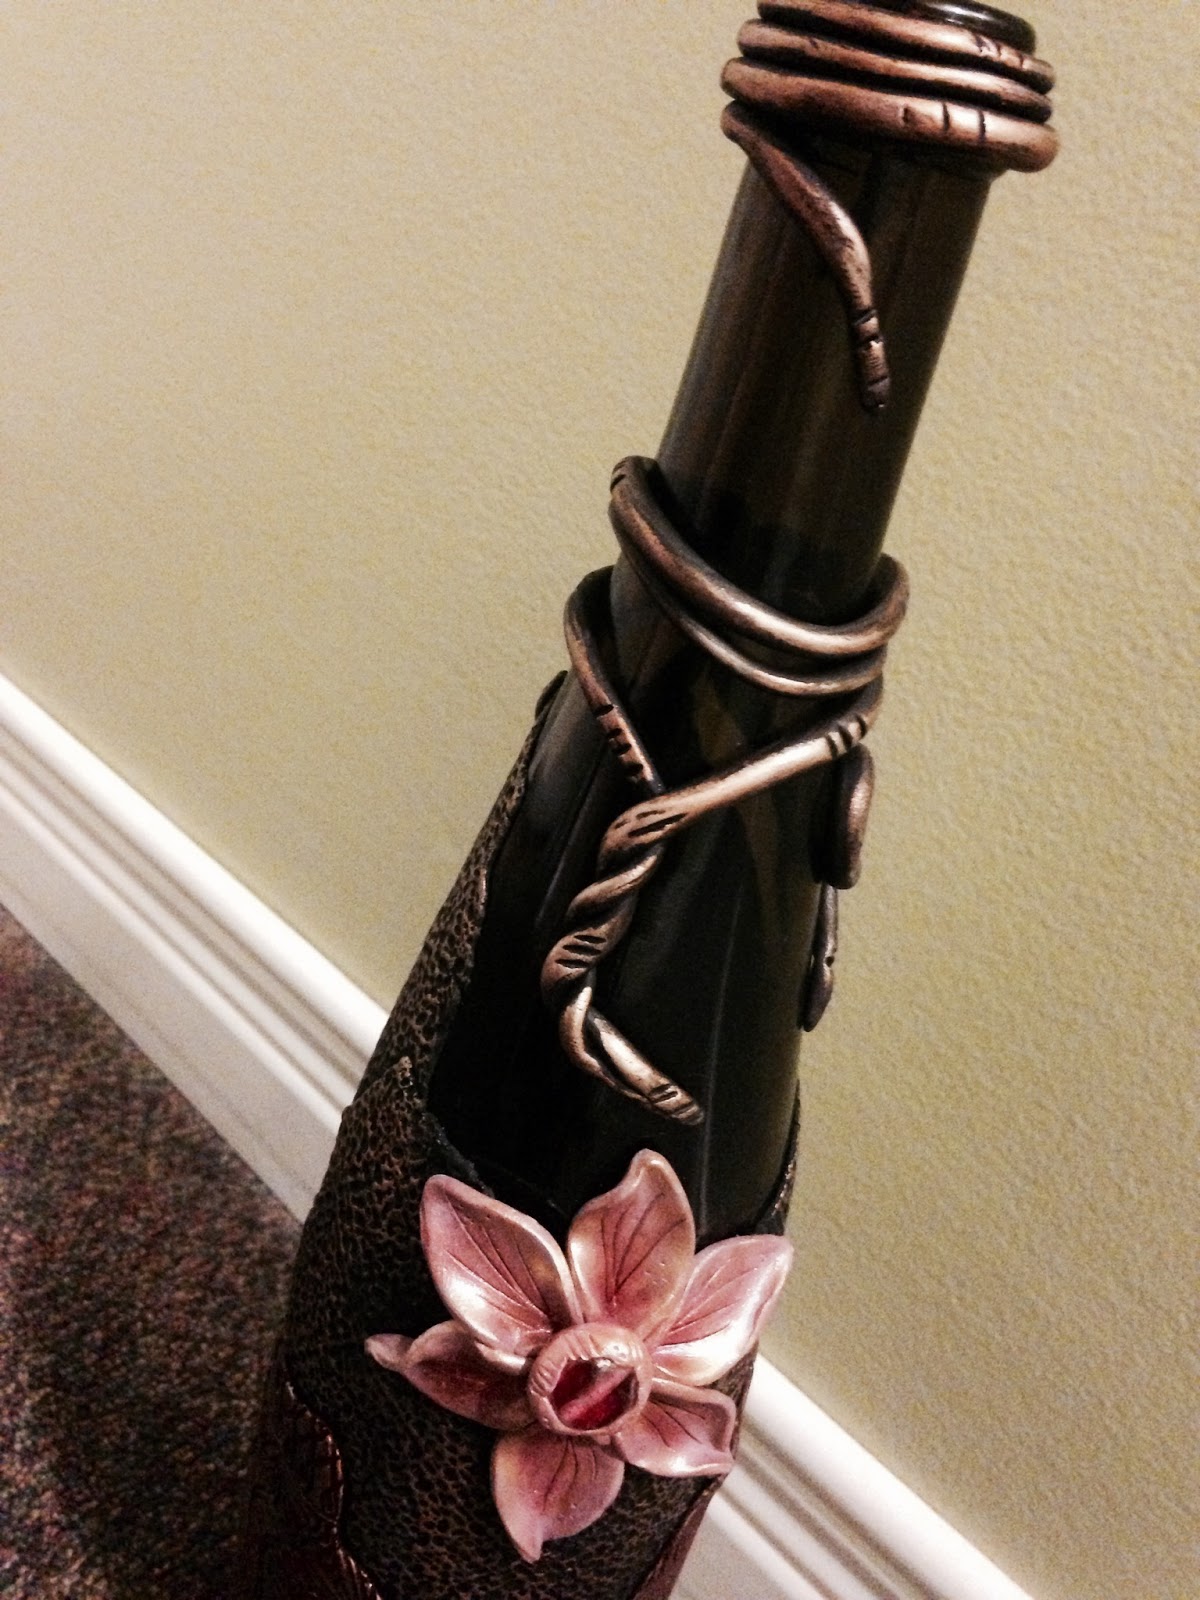
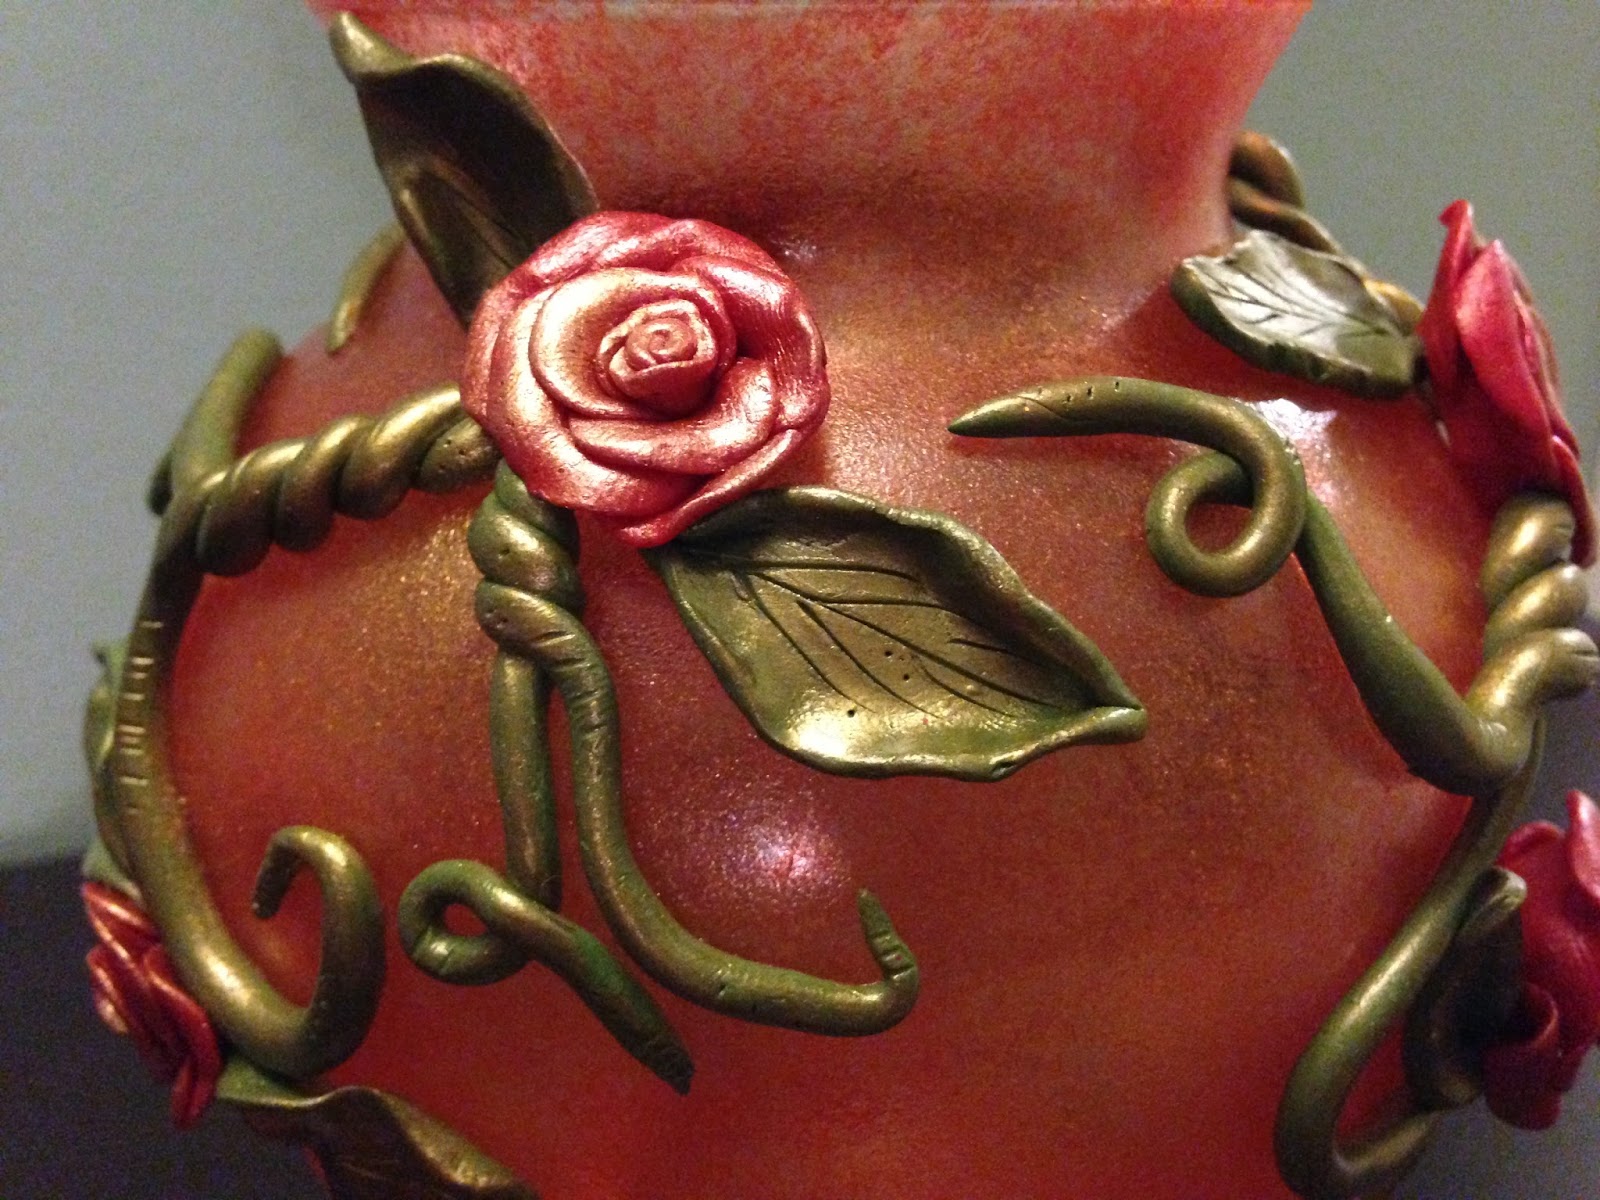
I start sculpting the vines from the copper and olive clay. I twisted it around the bottle neck and all the way down and added some curly vines on the sides. I don't have any cutter for the leaves so I created my own using a small cutter tool. I made two pieces, smoothen the edges and placed one on the top and one in the middle part.
Then I made purple small balls and clustered them together to create the grapes.
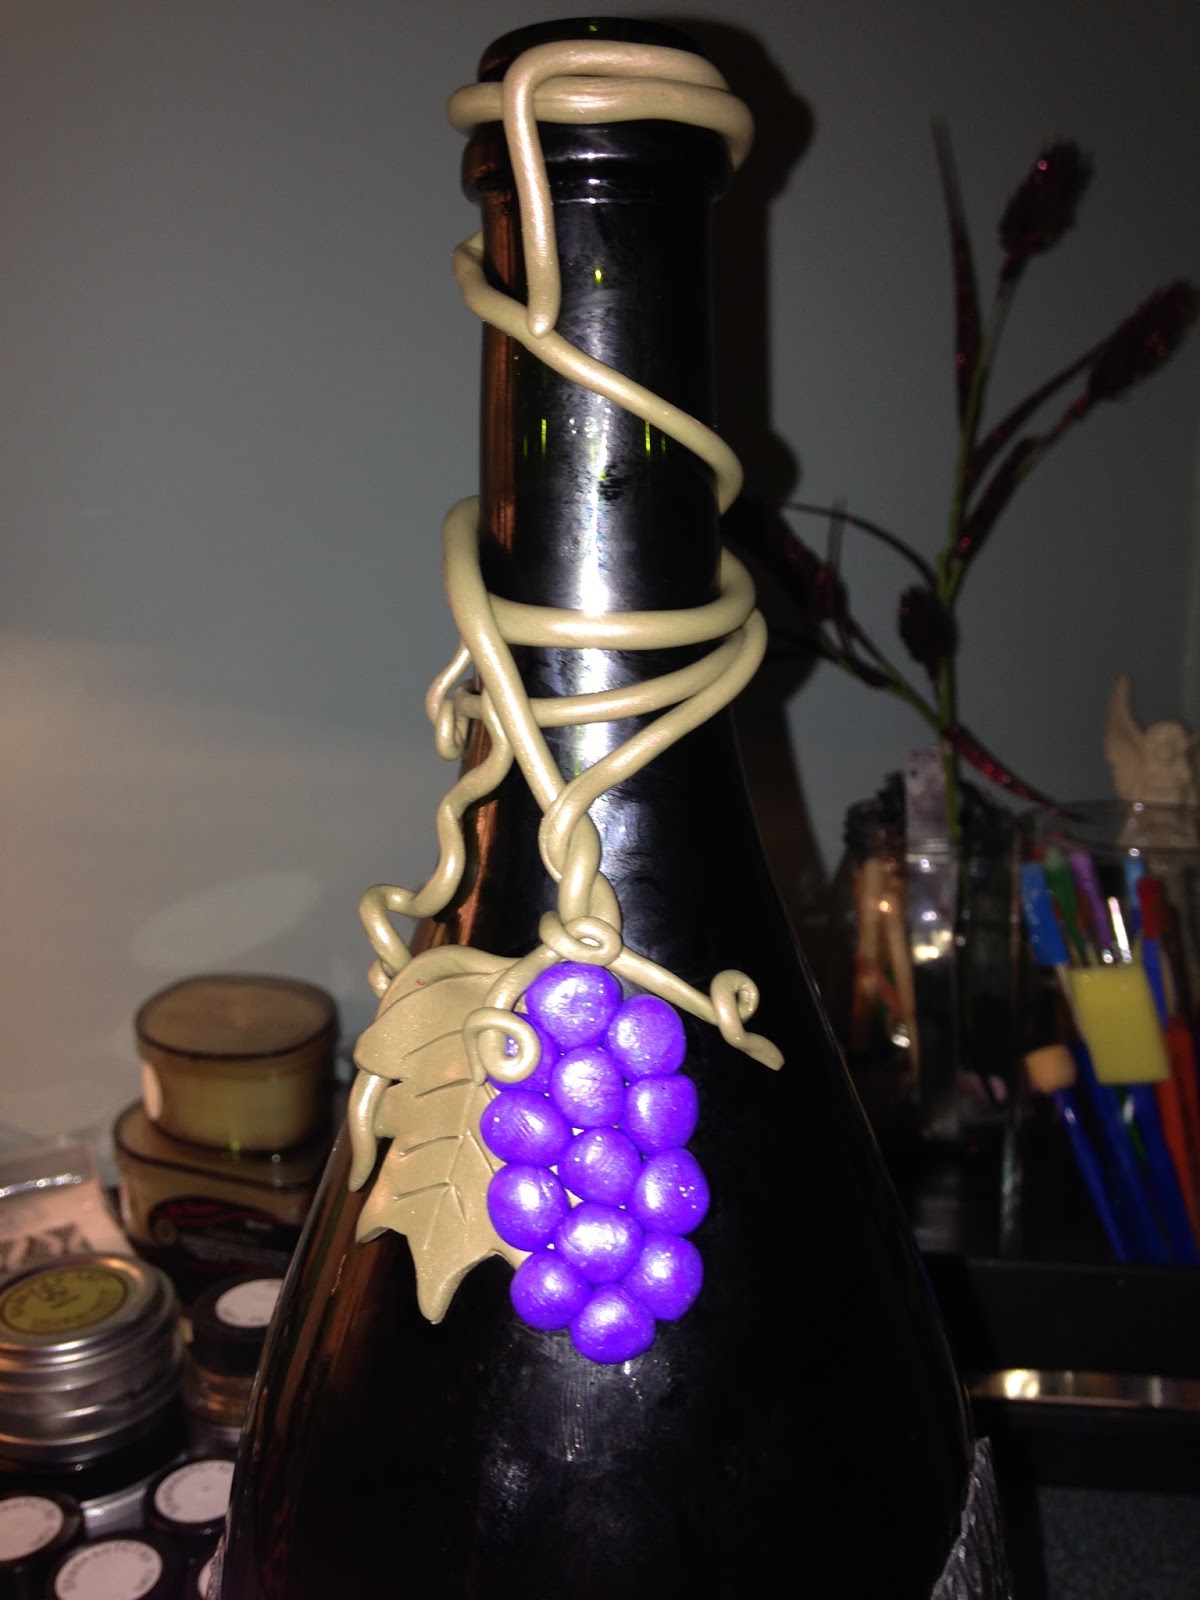
Then I added grapes down towards the covered part. It looks like it is hanging down.
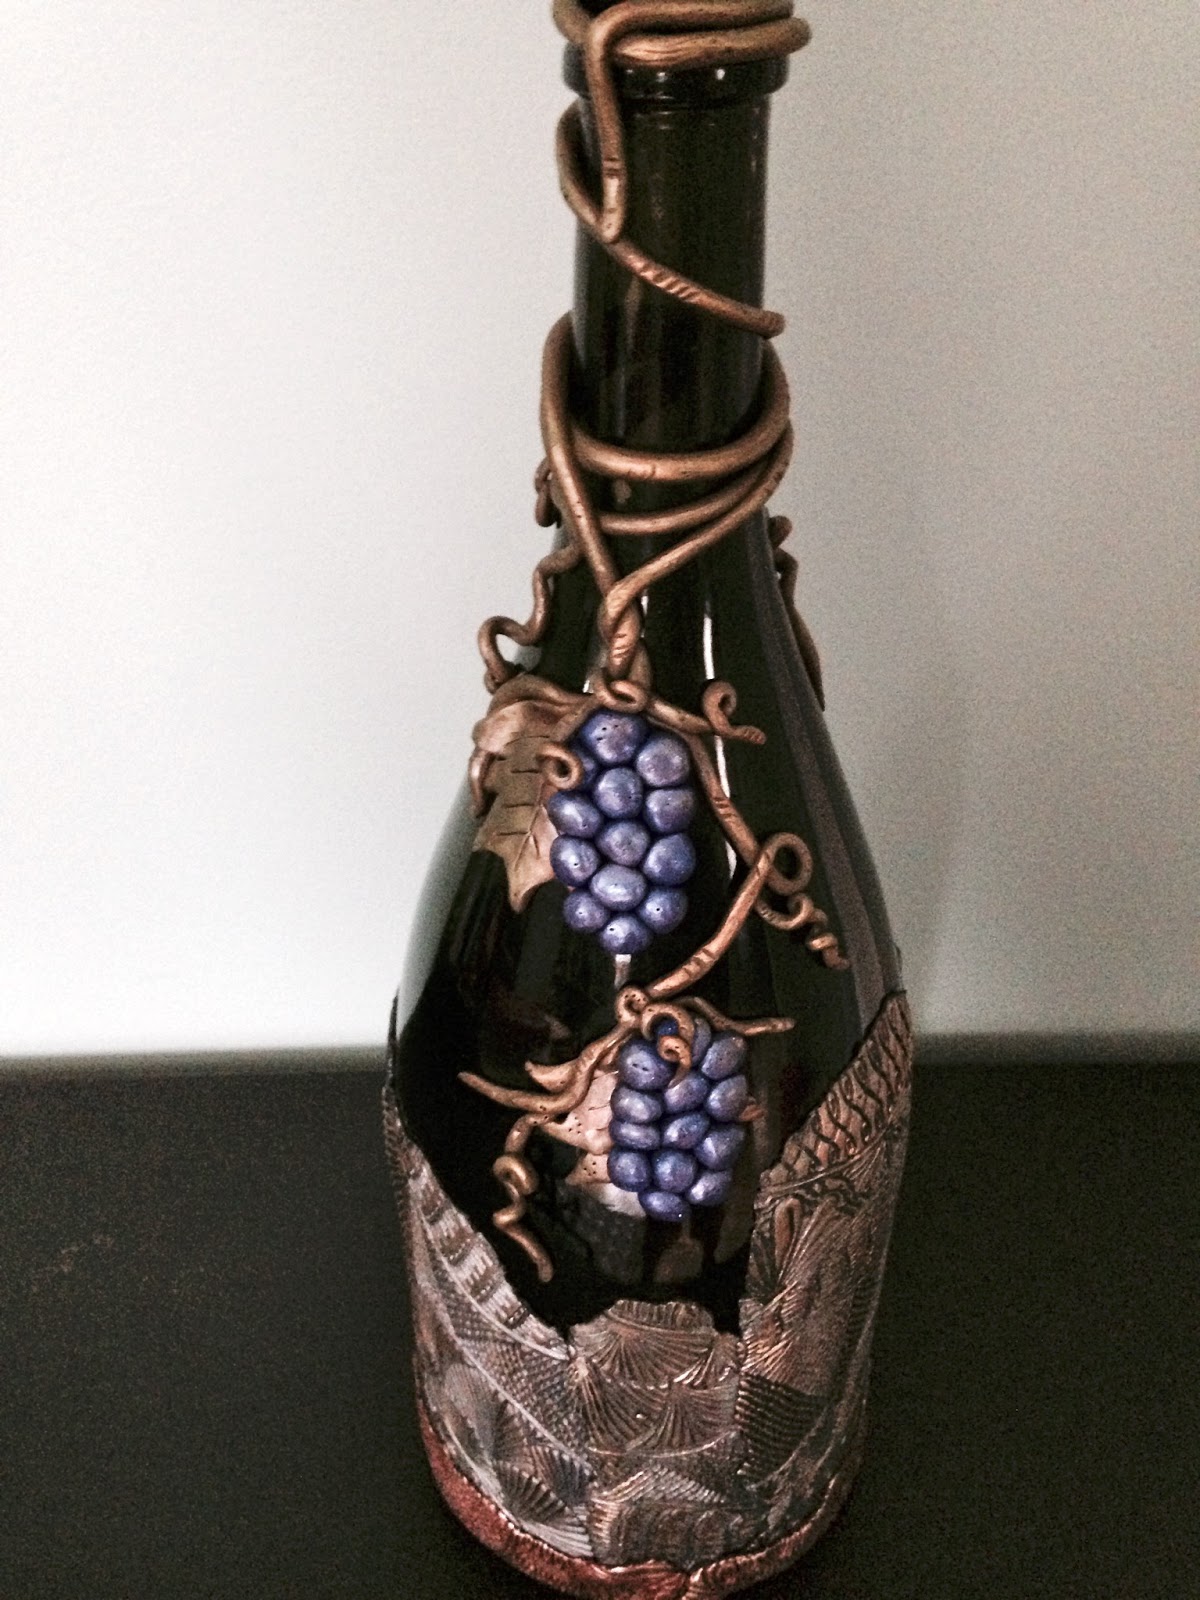
I brushed a little purple pearl ex in the middle of the grapes and and white on the sides of the grapes to create a metallic look.
I added some details, like lines on the vines and leaves to make it more realistic.
Picture shown below, the bottle is ready for curing.

I cured it at 275 for 45 minutes in the oven.
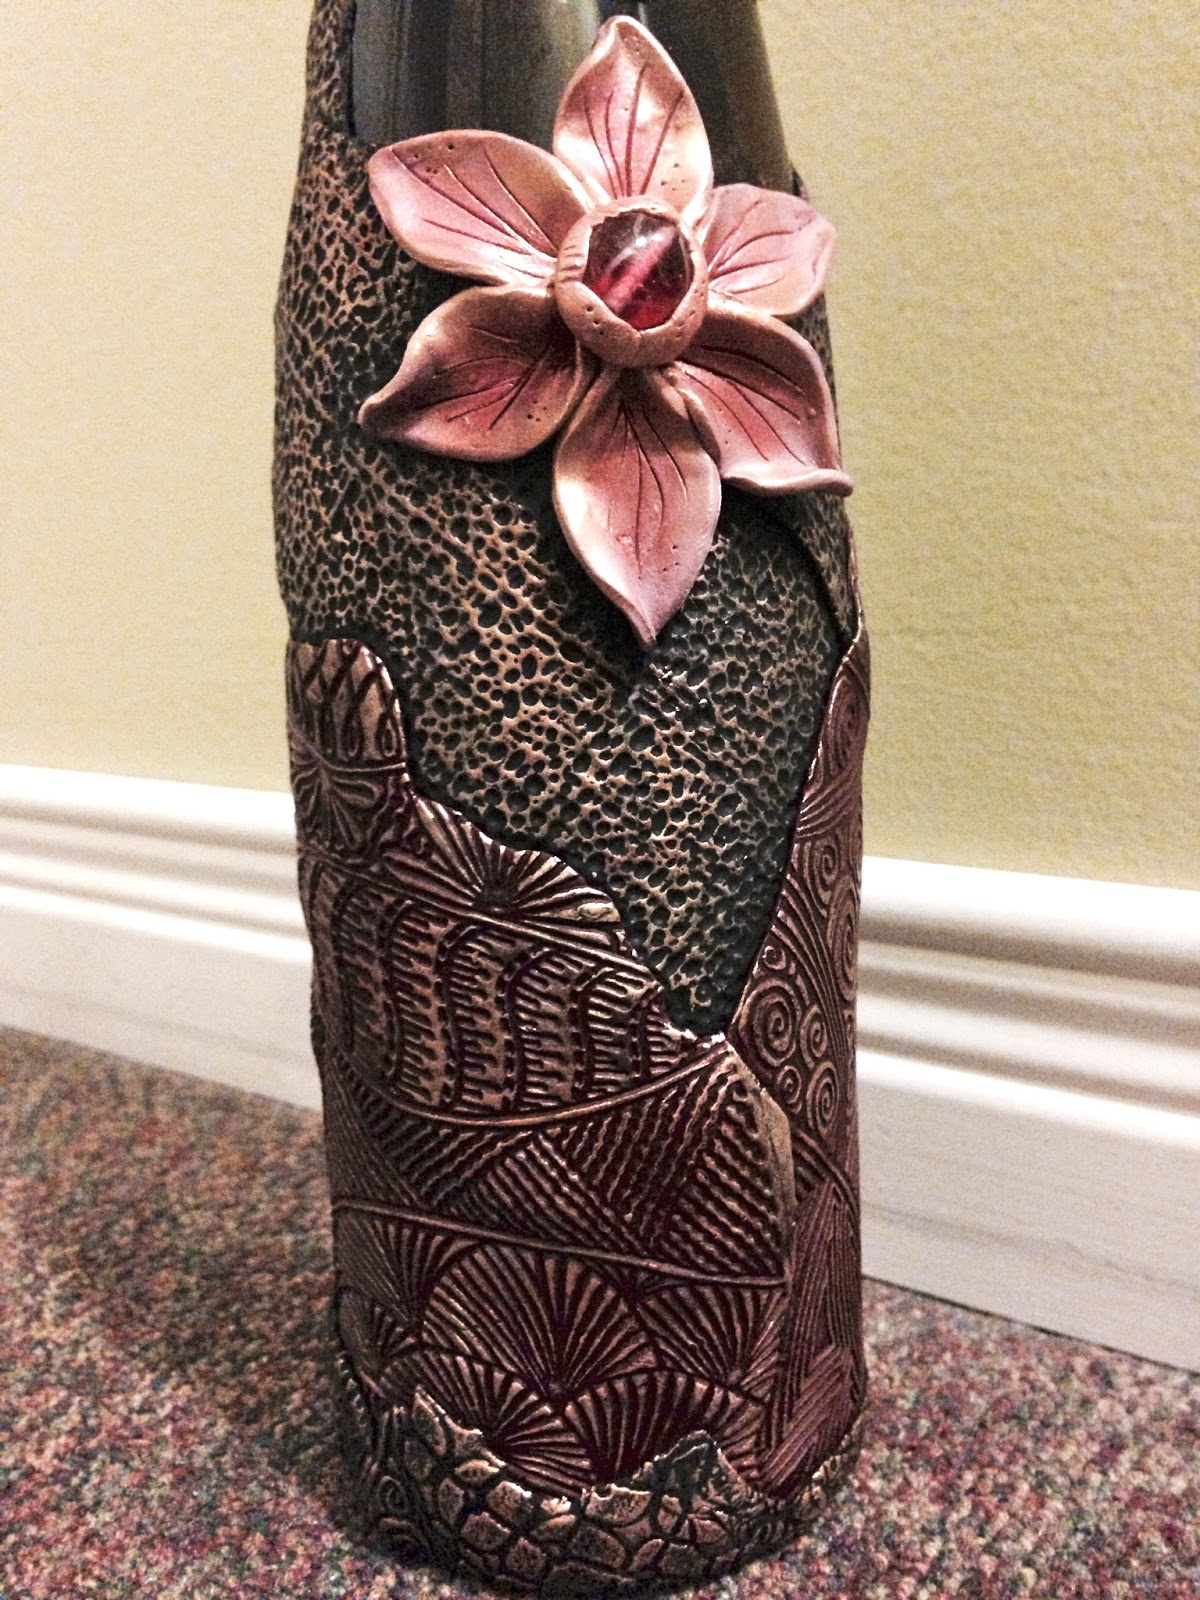
After curing, I let it cool down and applied the gilders paste on the textured area.

To apply the gilders paste, I just used my point fingers to rub it on the surface. Small amount at a time. Just go over it and add some other colours to create contrast and different tone.
This is how it looks using german silver, some antique gold and some bronze.
It gives it a vintage appearance.
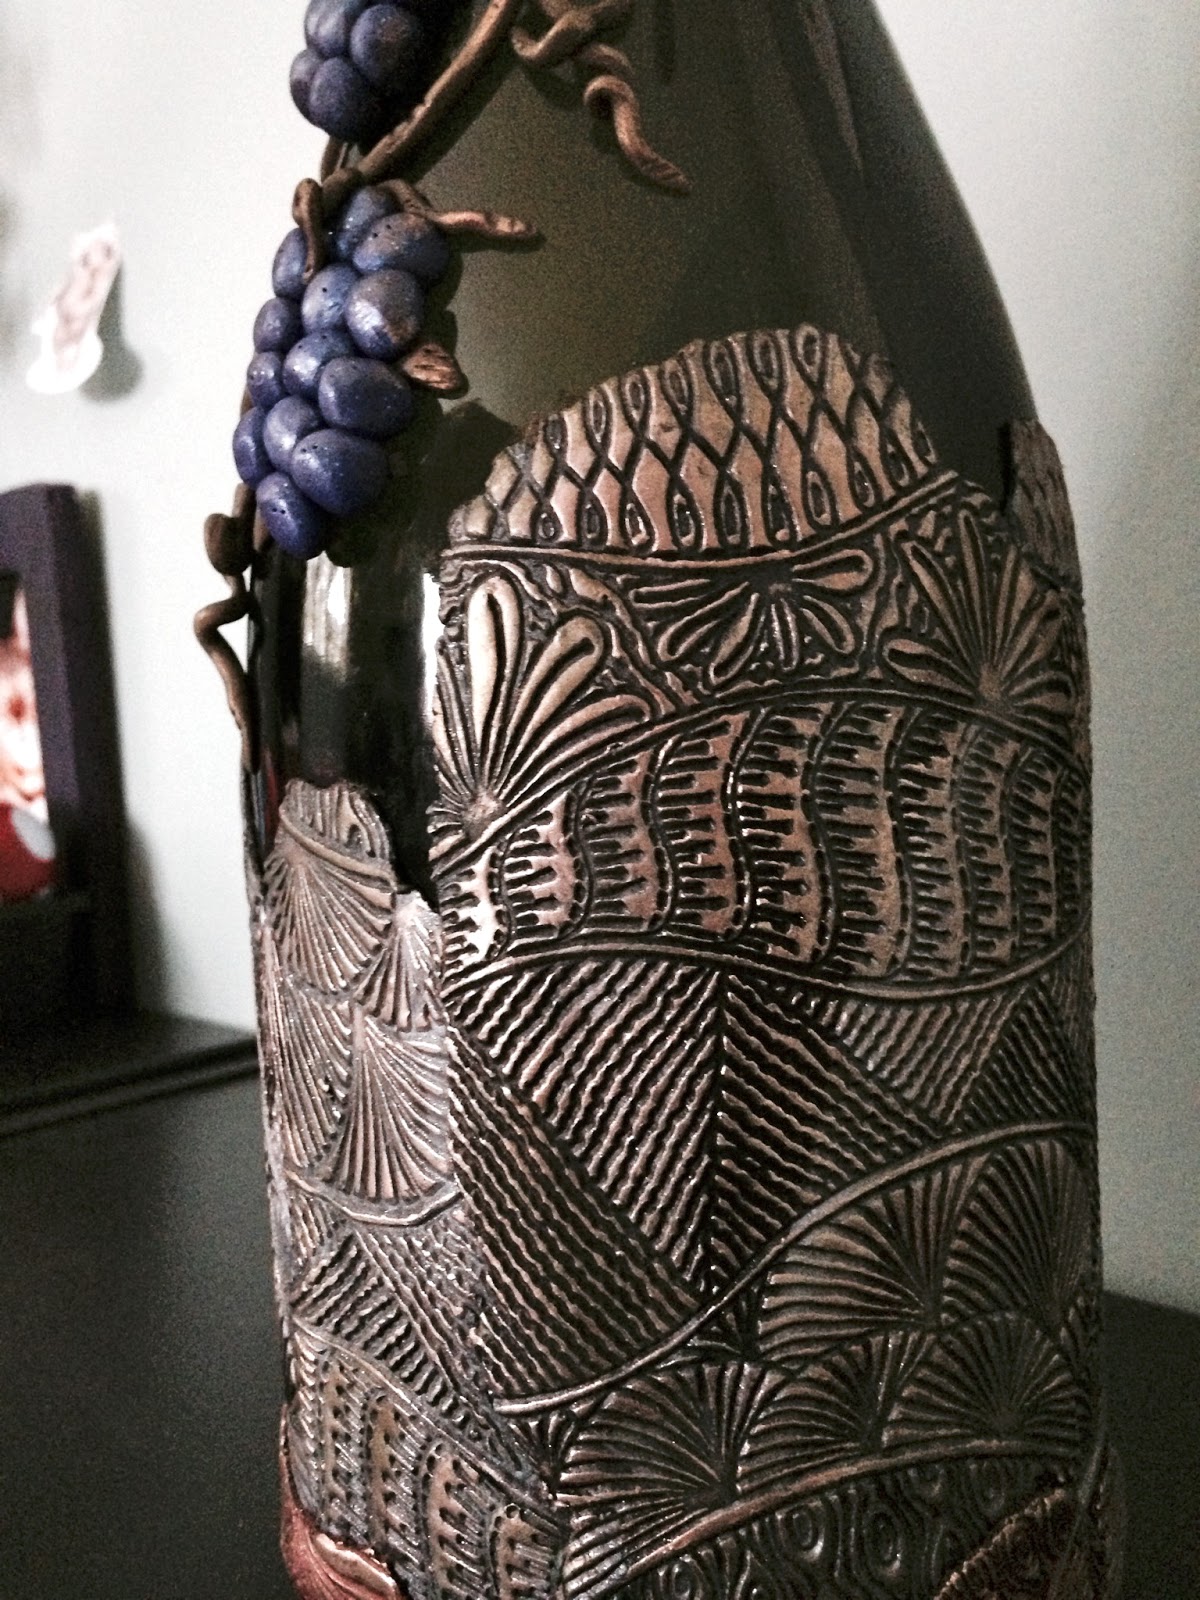
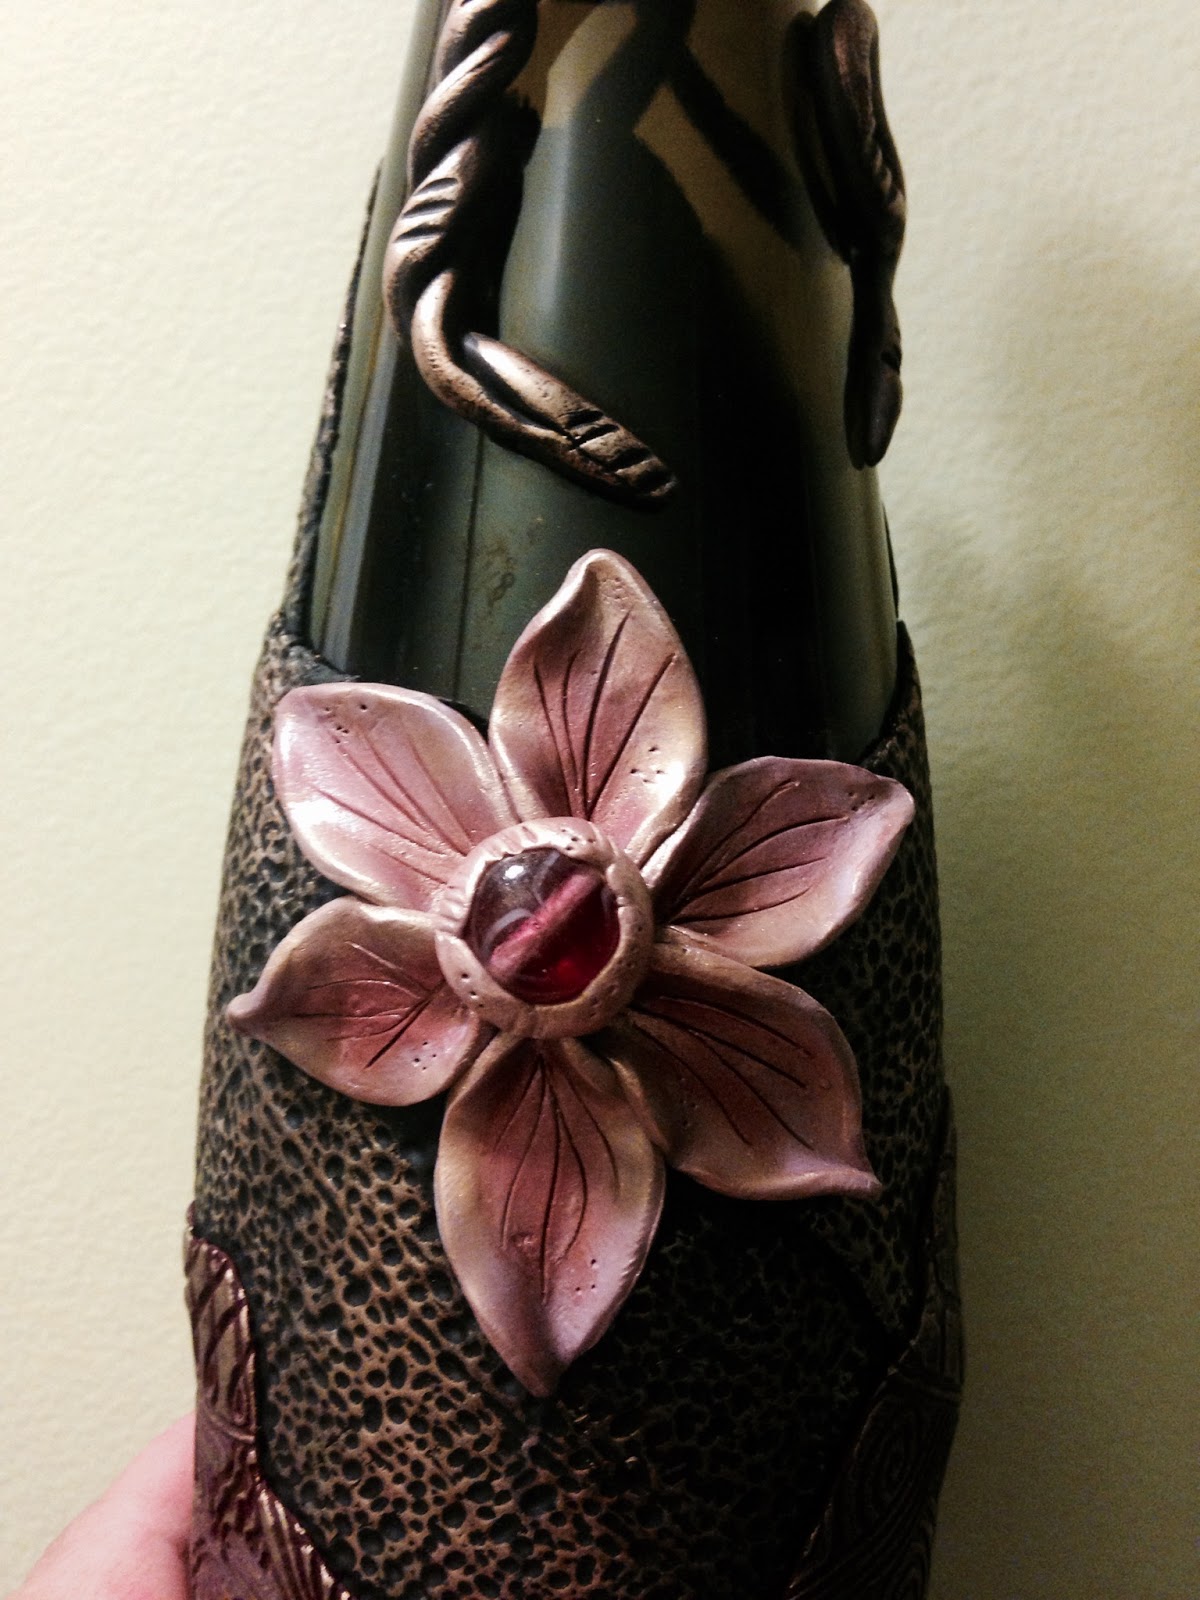
I also rub a little bronze gilders and antique gold gilders paste on the leaves and vine.
I Rub excess of the gilders paste with cotton towel. It also creates a gilded appearance.
I let it dry and I finished it with PYM II or you preferred finishing.
This was a fun project. It's a nice addition to my wine bottle collection. Project time 3 hours including curing.
Thank you for visiting my blog site.
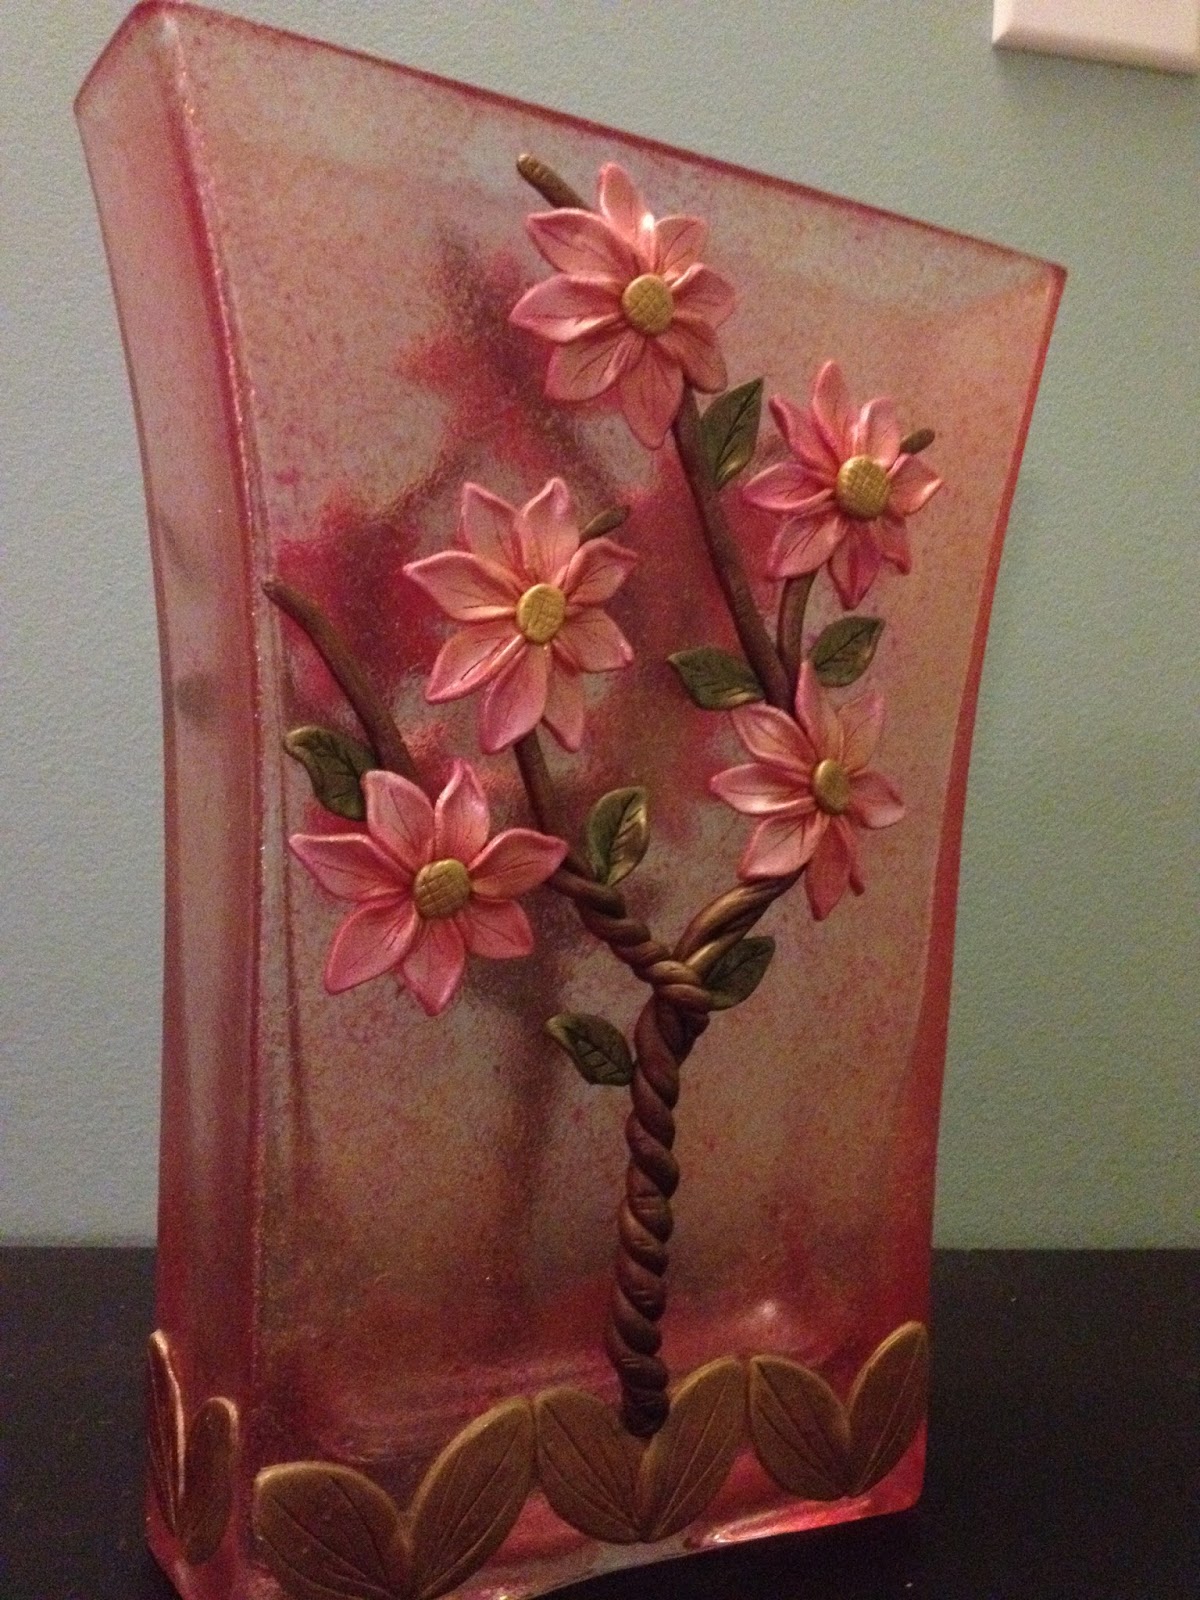
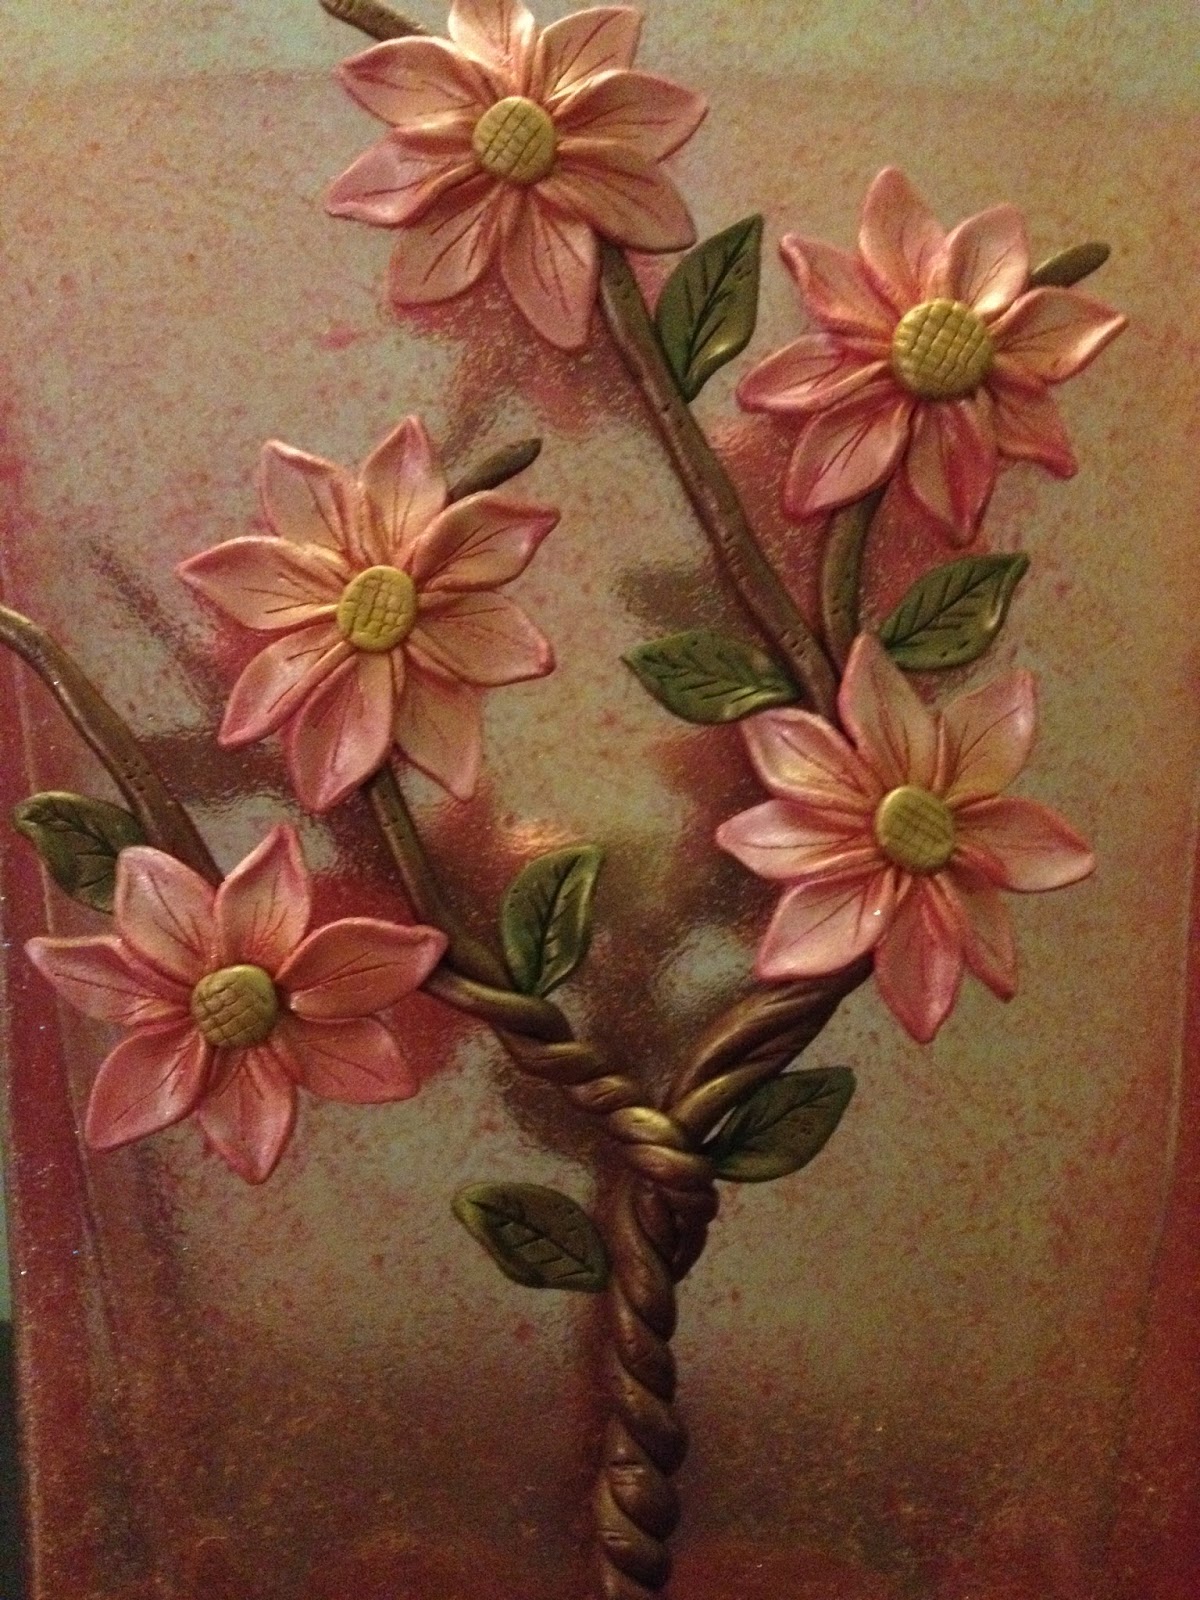
More Designs coming soon.