I just finished the new addition to my wine bottle collection. It's Beads & Butterflies.
Another fun project using empty wine bottle.
Materials I used for this project:
Basic polymer clay tools
Makin's texture sheet
Clean empty wine bottle
Polymer Clay - premo peacock pearl & black
Butterfly rubber stamp
glass beads
Jacquard pearl ex - purple, blue, gold & copper
Viva inka gold ( silver) & Baroque gilders paste (german silver)
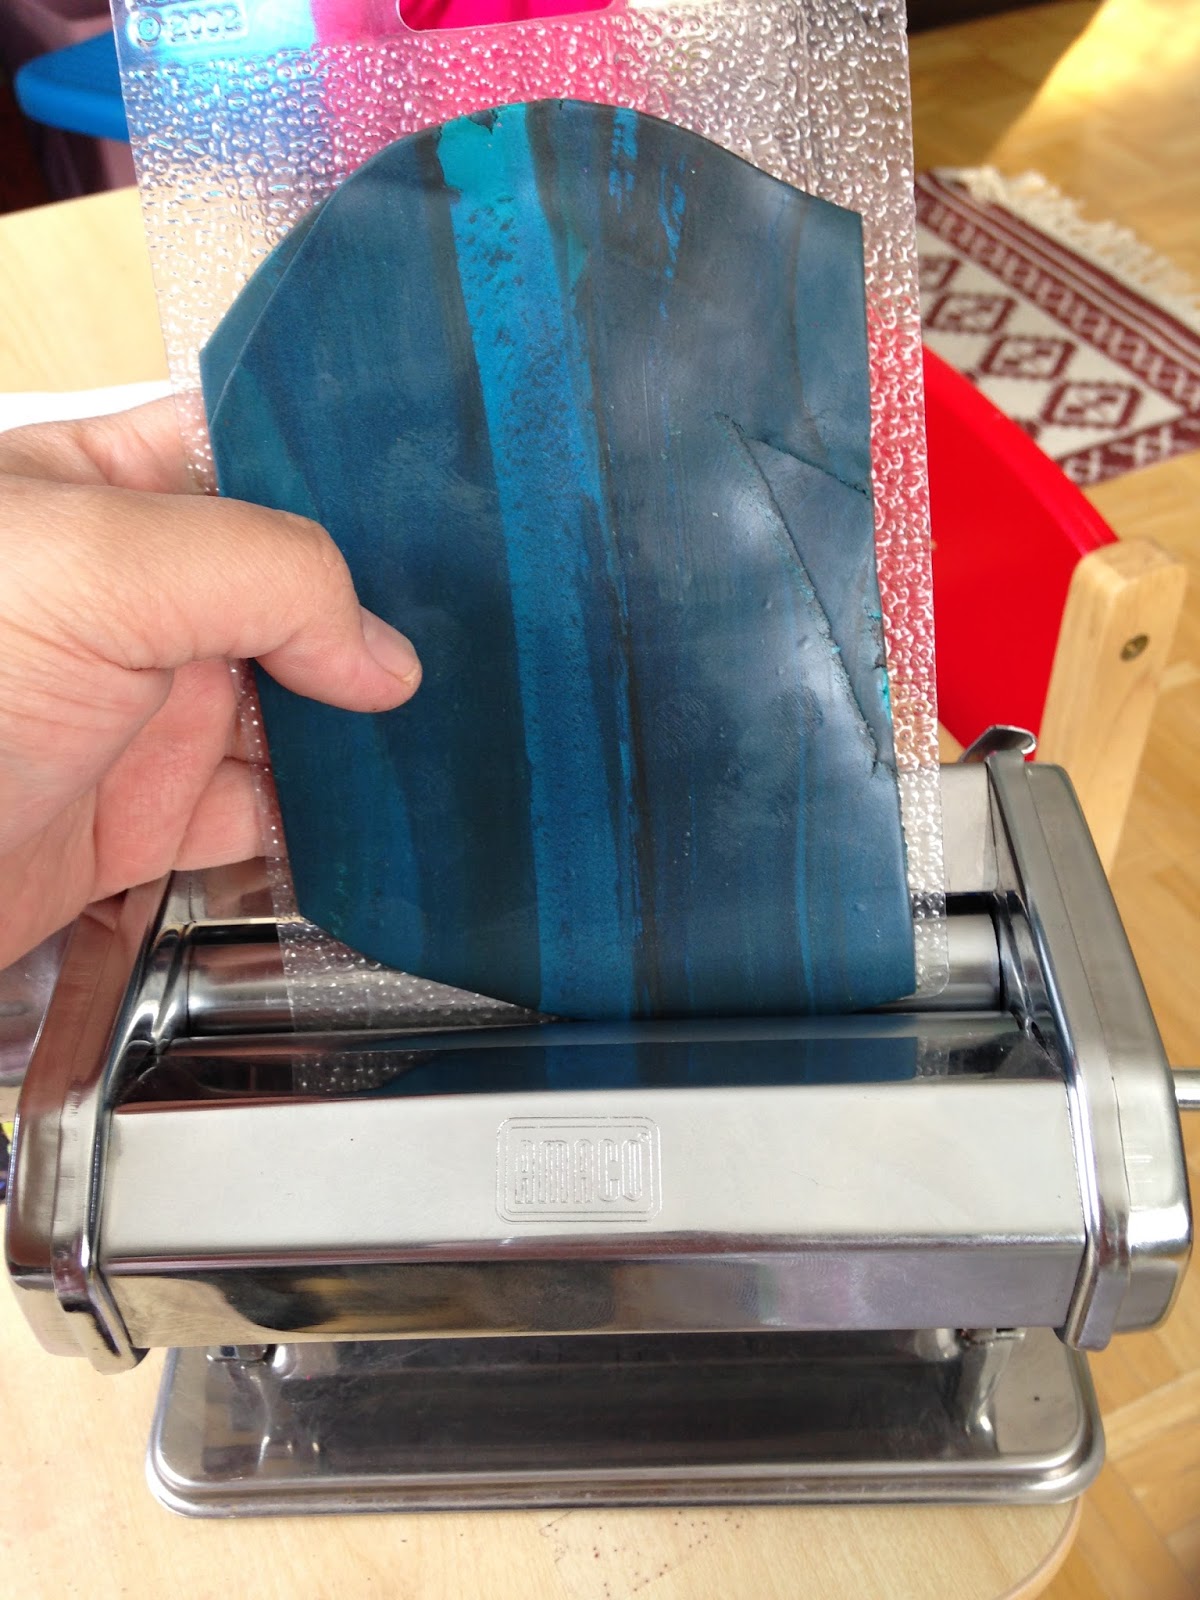
I start my project by conditioning the clay several times in the pasta machine.
In this project I am only using two colours, premo black & peacock pearl.
I placed the clay together to combined colours and run it to the pasta machine several times until I am happy on how it looks. Then, I run it once more with the texture sheet.
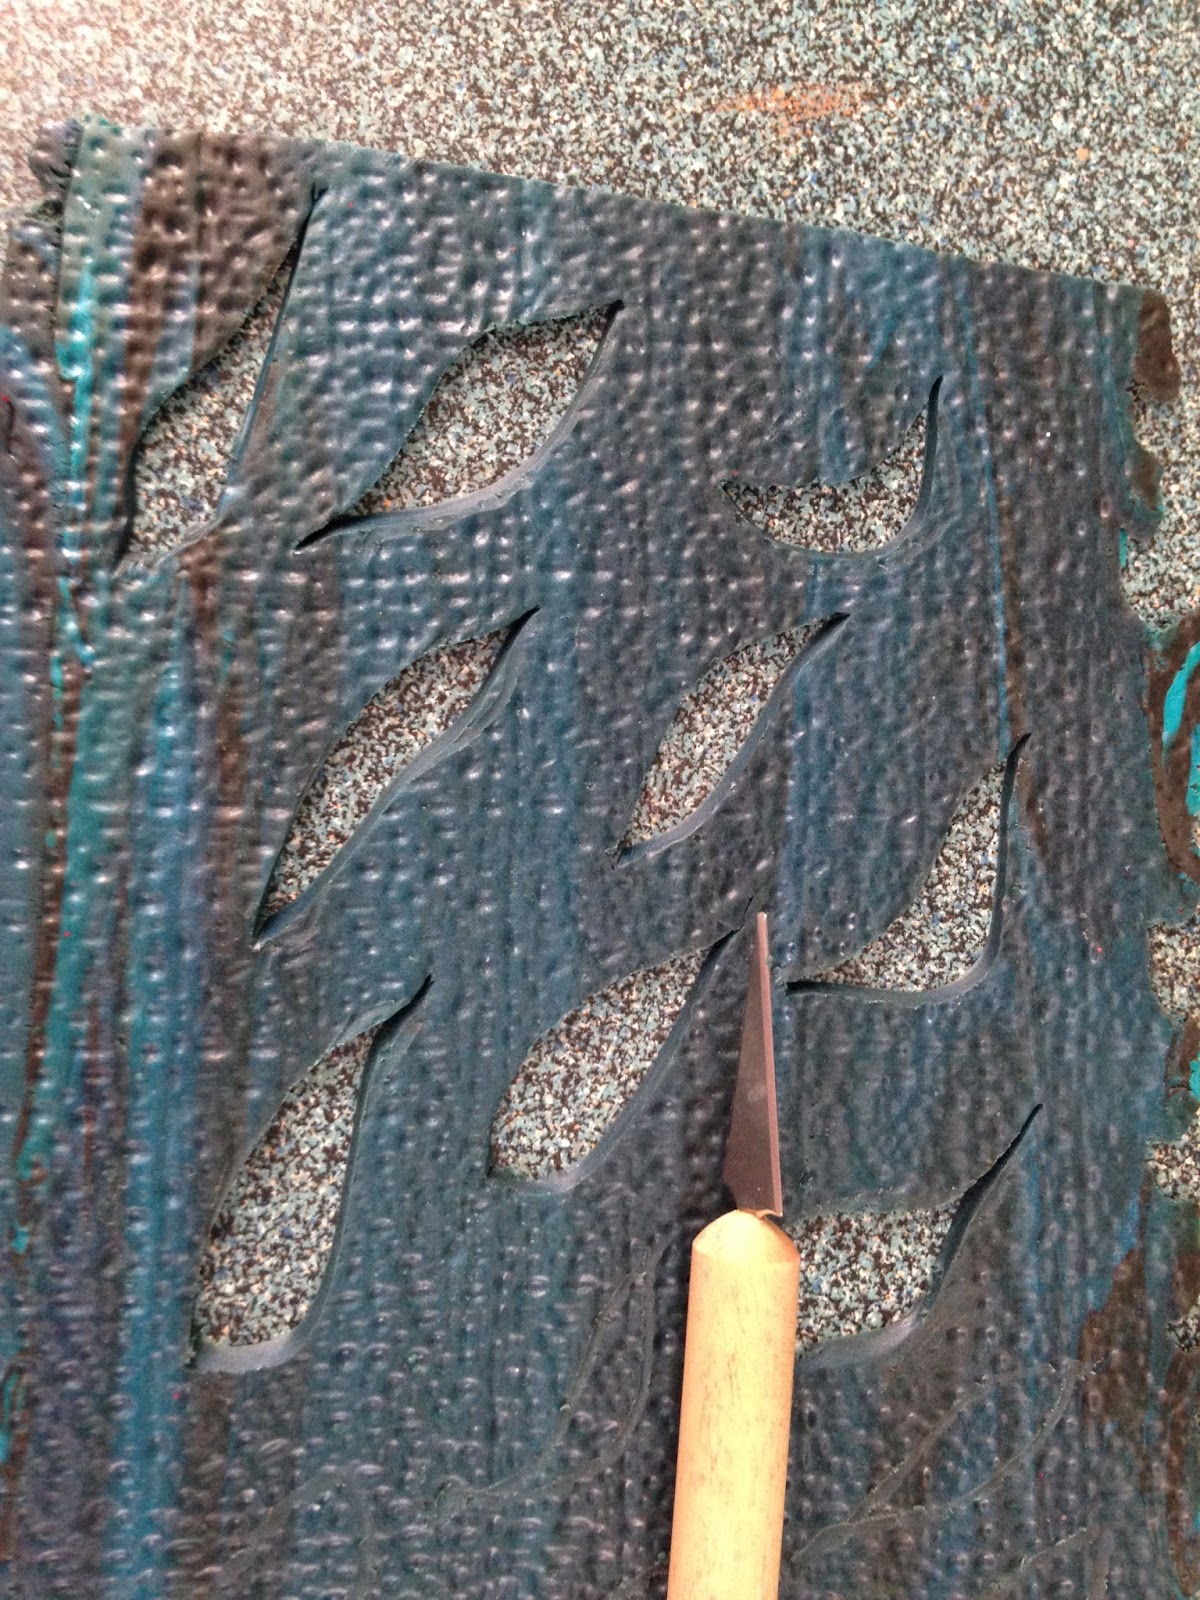
Once I have the textured clay. I trace pattern all over it with a pencil. You can create
any pattern you like.
I used cutting tool to cut around the pattern I created.
After cutting, I cleaned the edges and sides using the texture sheet.
Now, it's time to place it on the bottle. I wrap one side of the bottle and I created another patterned clay to cover the other side.
The bottle I used was a screw cap bottle so, I have to cover that part. I used the same clay combination and wrap it around it and I added texture using the texture sheet.
To create the impression of a butterfly. I used a rubber stamp from inkadinkado.
My rubber stamp collection for card making comes in handy.
I cut around the butterfly using the cutter tool.
I wanted to create colourful butterfly. I used blue, purple, gold and copper pearl ex pigments. I applied it to the butterfly with a small brush.
I placed the butterflies on the bottle using polybonder adhesive. I did not placed it flat on the bottle so I wanted to make sure it will stick after curing.
After I placed all the butterflies. I used extras of my peacock pearl clay to create round beads everywhere. I placed small glass beads in the middle.
I cured the bottle at 275C in the oven for 40 mins.
After it cooled down. I dab small amount of viva inka gold (silver) around the cover to create a metallic look.
I added some gold Baroque gilders paste (german silver) for effects on my metal cover.
Last step: I wipe excess of the paste with cotton cloth and then finish it with PYM II.
I strung bronze glass beads and wrap it around the neck of the bottle for accent.
Finished Project:
This is another Fun project using empty bottle and polymer clay.
I hope you enjoyed this tutorial and thank you for visiting my blog.
More designs and ideas coming soon.


You inspire me so much. You have alot of talent.
ReplyDeleteThank you Jackie. This one is an easy project. The rubber stamps comes in handy.
DeleteAnother beautiful work of art, Julie. I especially like how make the clay appear metallic.
ReplyDeleteThank you for sharing with Been There Done That.
Robin
Thank you Robin and thanks for the hosting the party. It was fun browsing the posted links. I love your decoupage on thet old tray. I should give it a try. Never did something like that but I think it will go well with country style kitchen.
DeleteGood morning, Julie! I wanted to let you know you are featured as one of the top three most viewed during the link up! Here is the link: http://redoityourselfinspirations.blogspot.com/2014/03/featured-posts-of-been-there-done-that.html Thank you! Have a great weekend :)
ReplyDeleteOh wow! thanks Robin. That's wonderful... Thanks again for hosting the party. I appreciate it. Have a great weekend too.
DeleteOh gosh thats wonderful! I started to save my wine bottles for making some wine and then we didn't get to make any this last year.I have wondered whether I should keep the bottles with the hopes of making wine again or doing projects with. This looks like a lot of fun! Chrystal @ YUMeating.com
ReplyDeleteThank you crystal. I'm glad you enjoyed it. This is definitely a good way to upcycle wine bottle. Give it a try. I'm sure you will love it :-) Have a great day.
Delete