Luna Blue Gifts Shop

Friday 21 February 2014

DIY Tutorial Beads & Butterflies Polymer Clay Wine Bottle

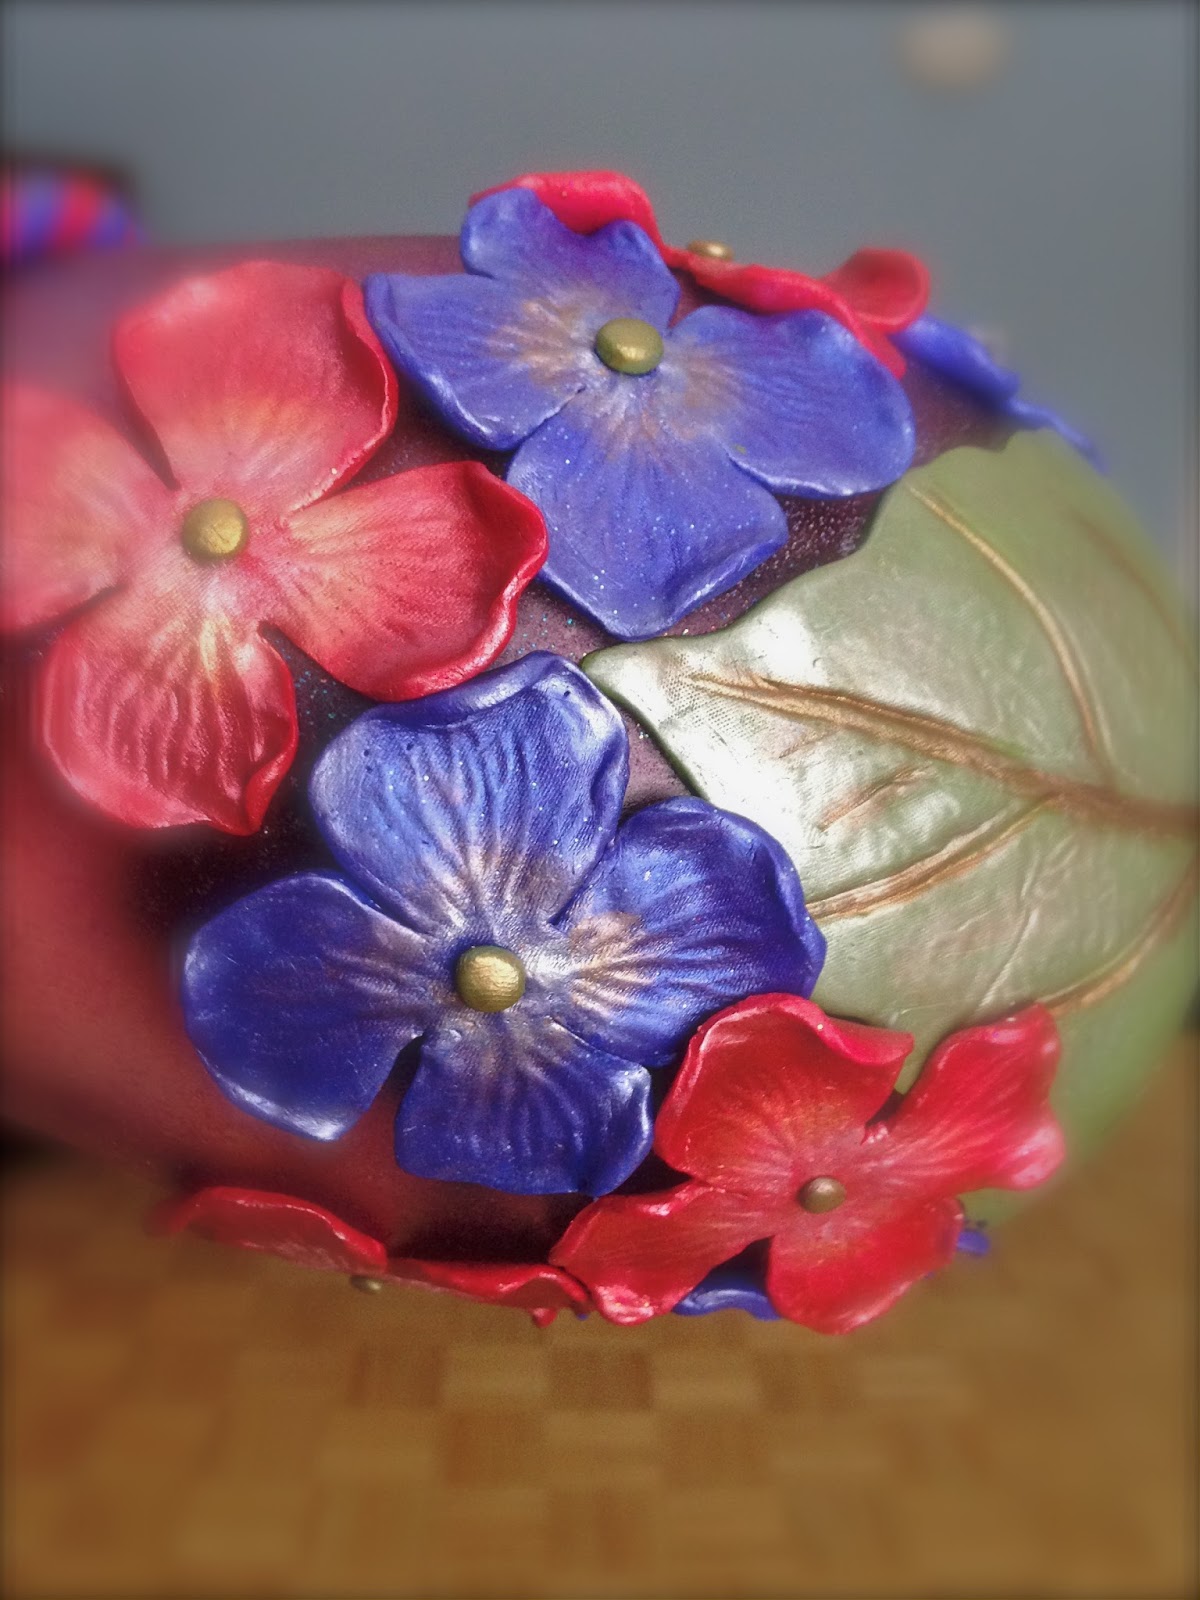
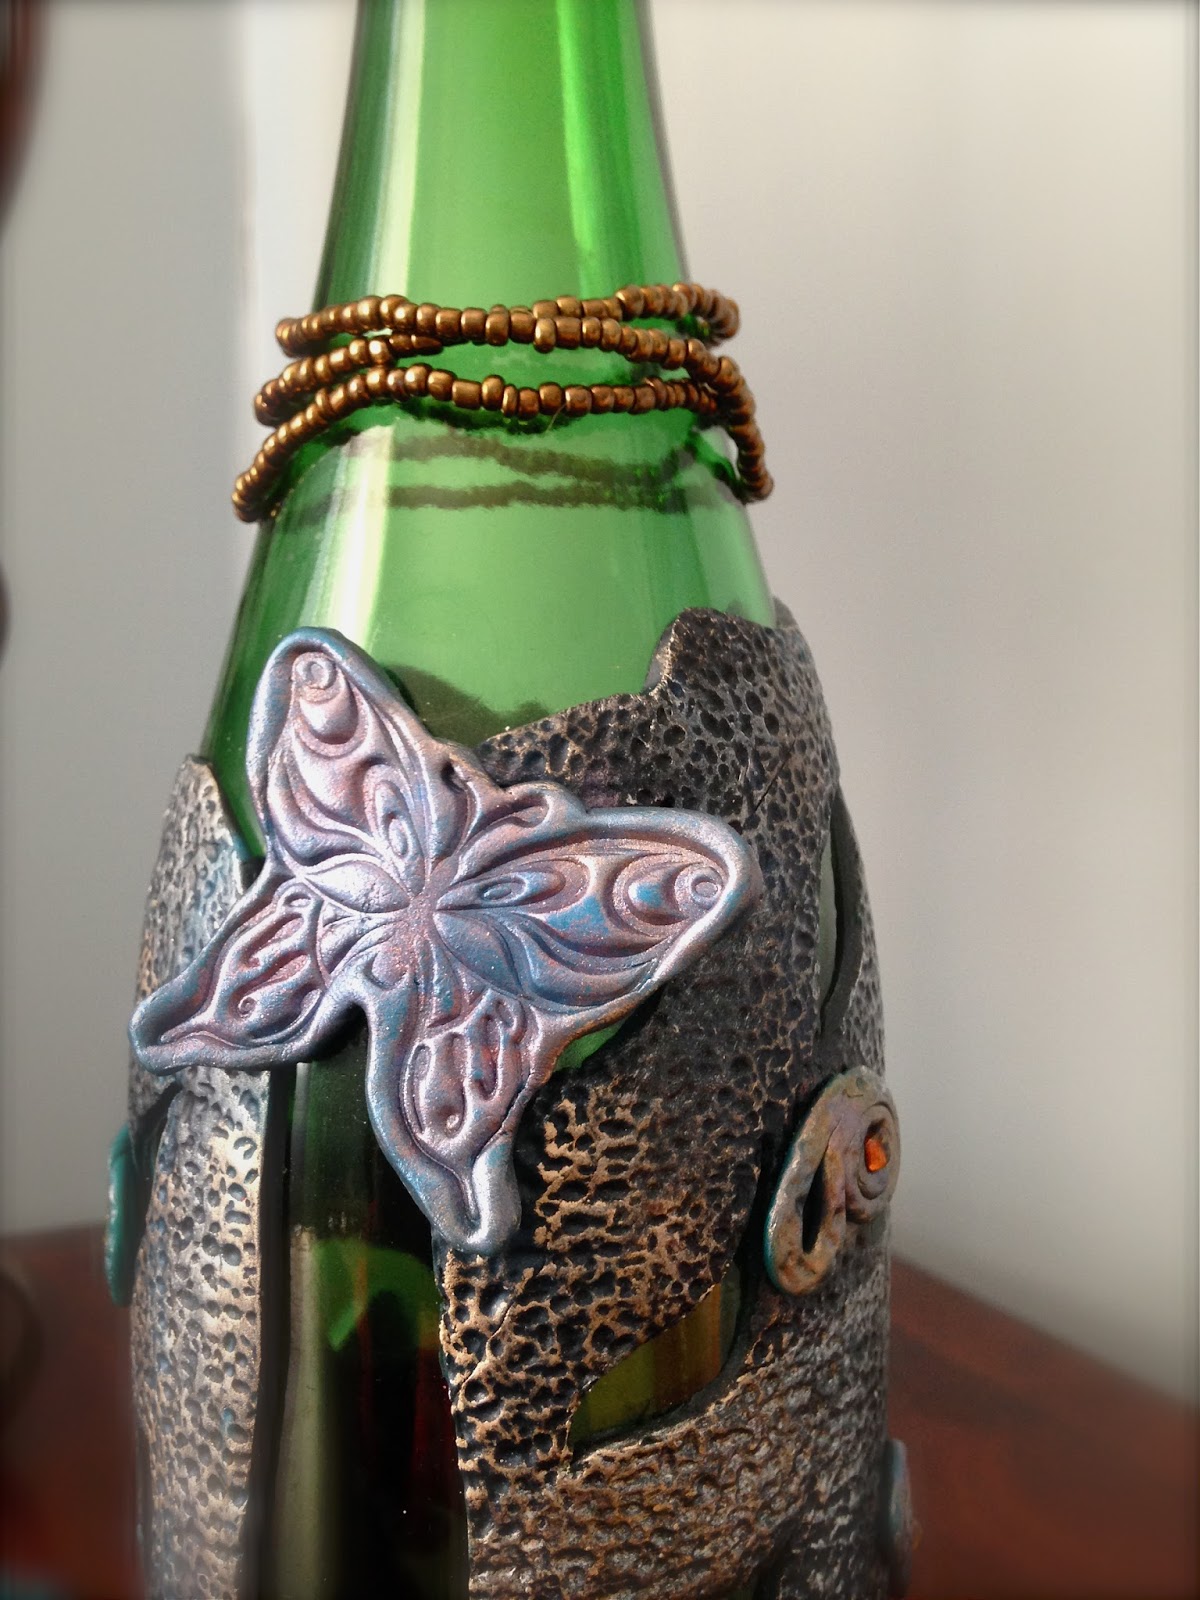
I just finished the new addition to my wine bottle collection.  It's Beads & Butterflies.
Another fun project using empty wine bottle.  


Materials I used for this project:
Basic polymer clay tools
Makin's texture sheet
Clean empty wine bottle
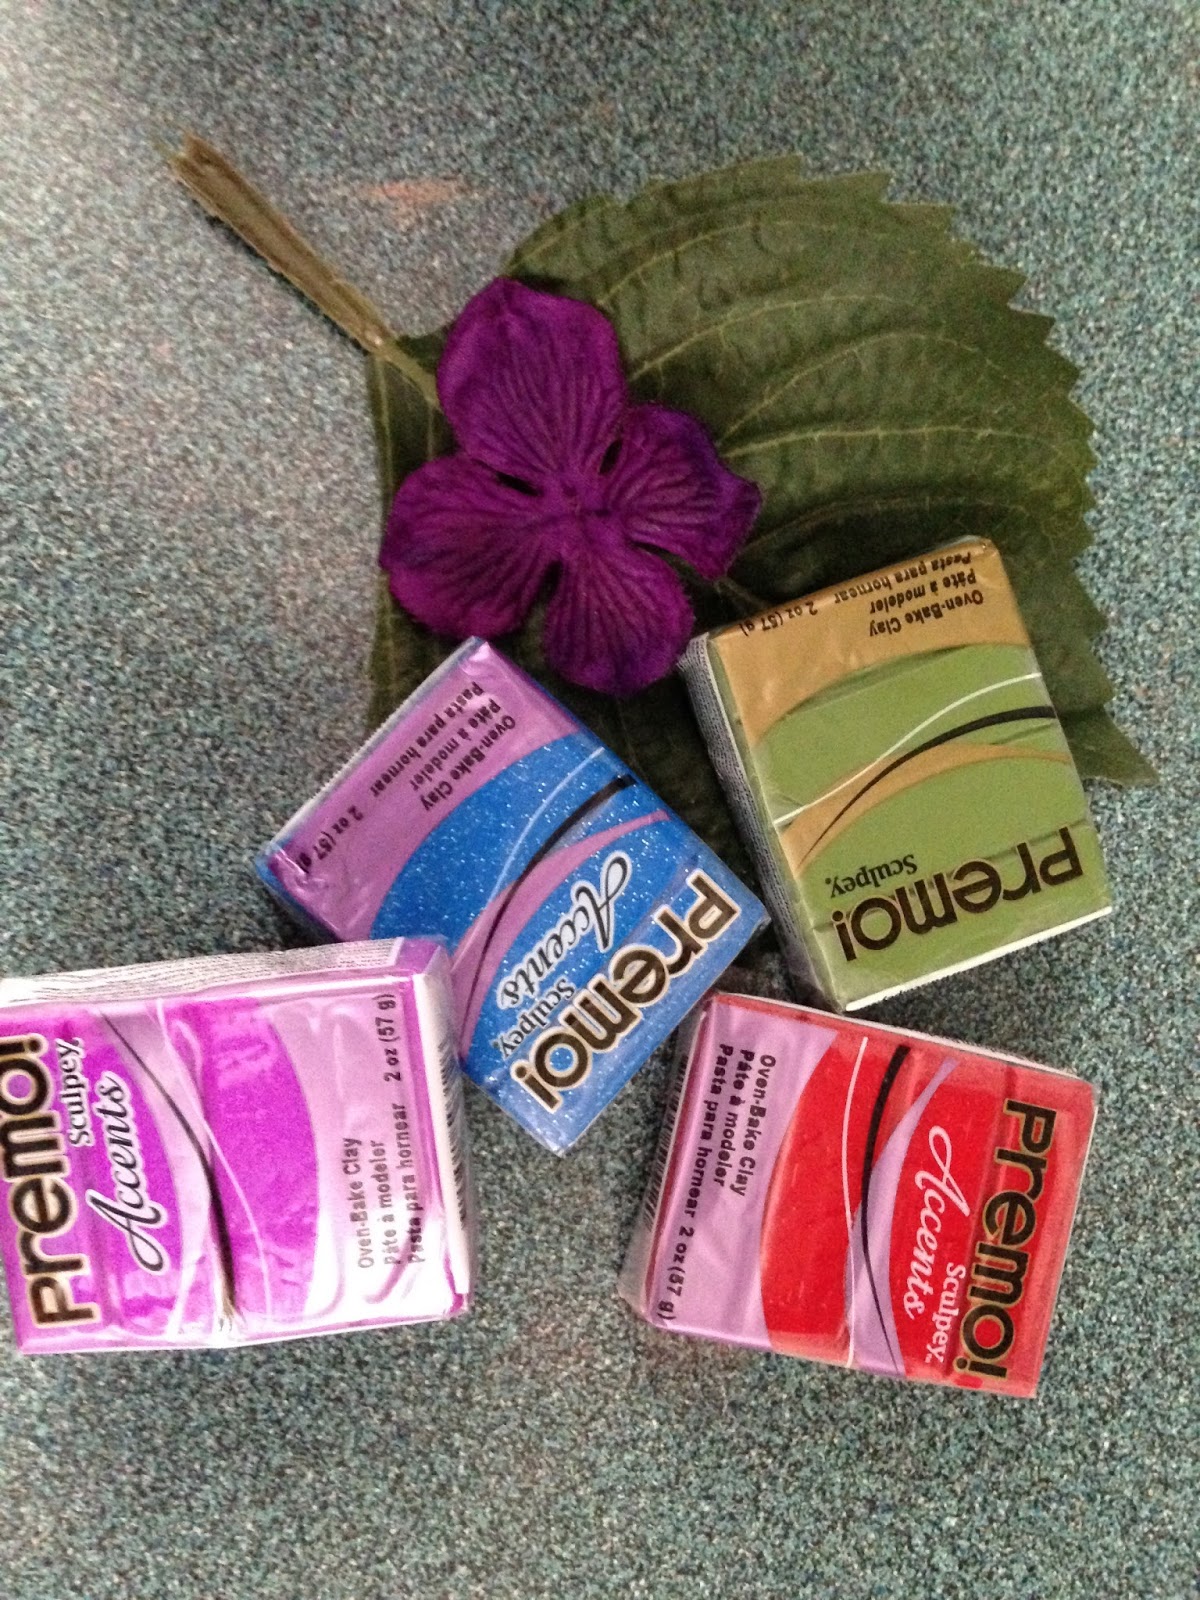
Polymer Clay -  premo peacock pearl & black
Butterfly rubber stamp
glass beads
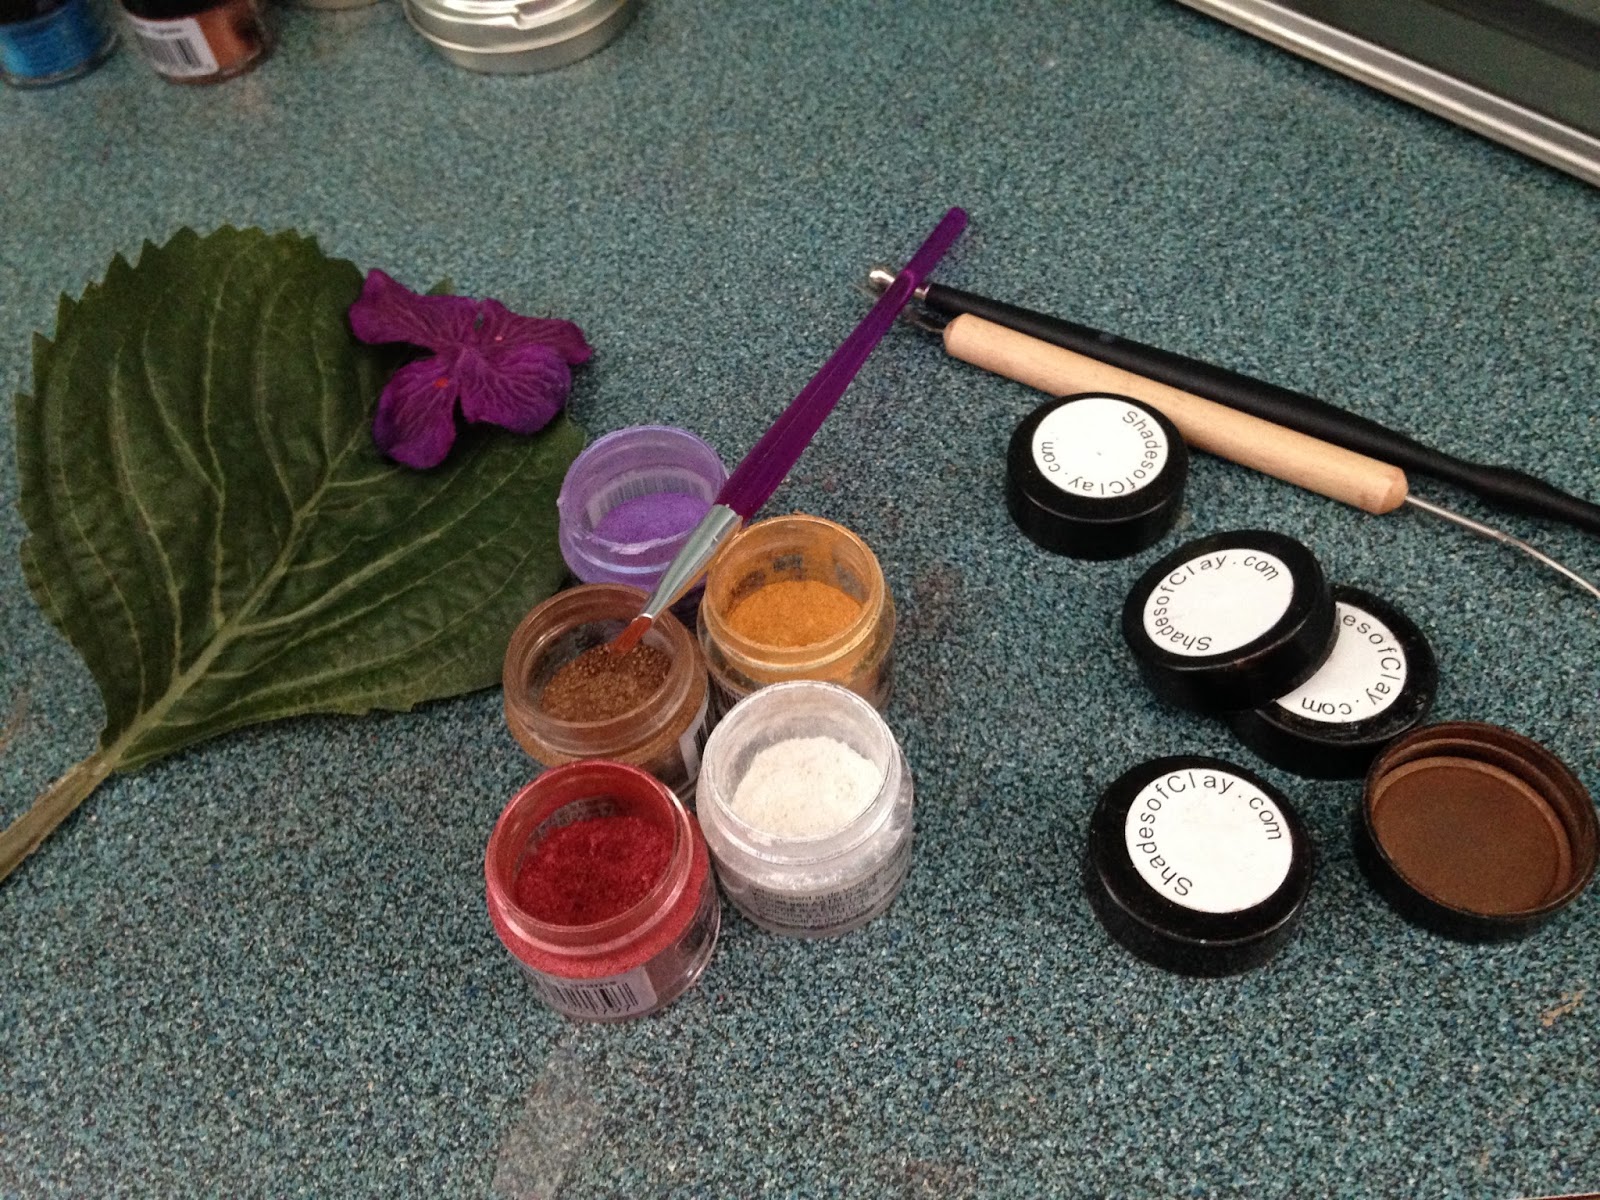
Jacquard pearl ex - purple, blue, gold & copper
Viva inka gold ( silver) & Baroque gilders paste (german silver)

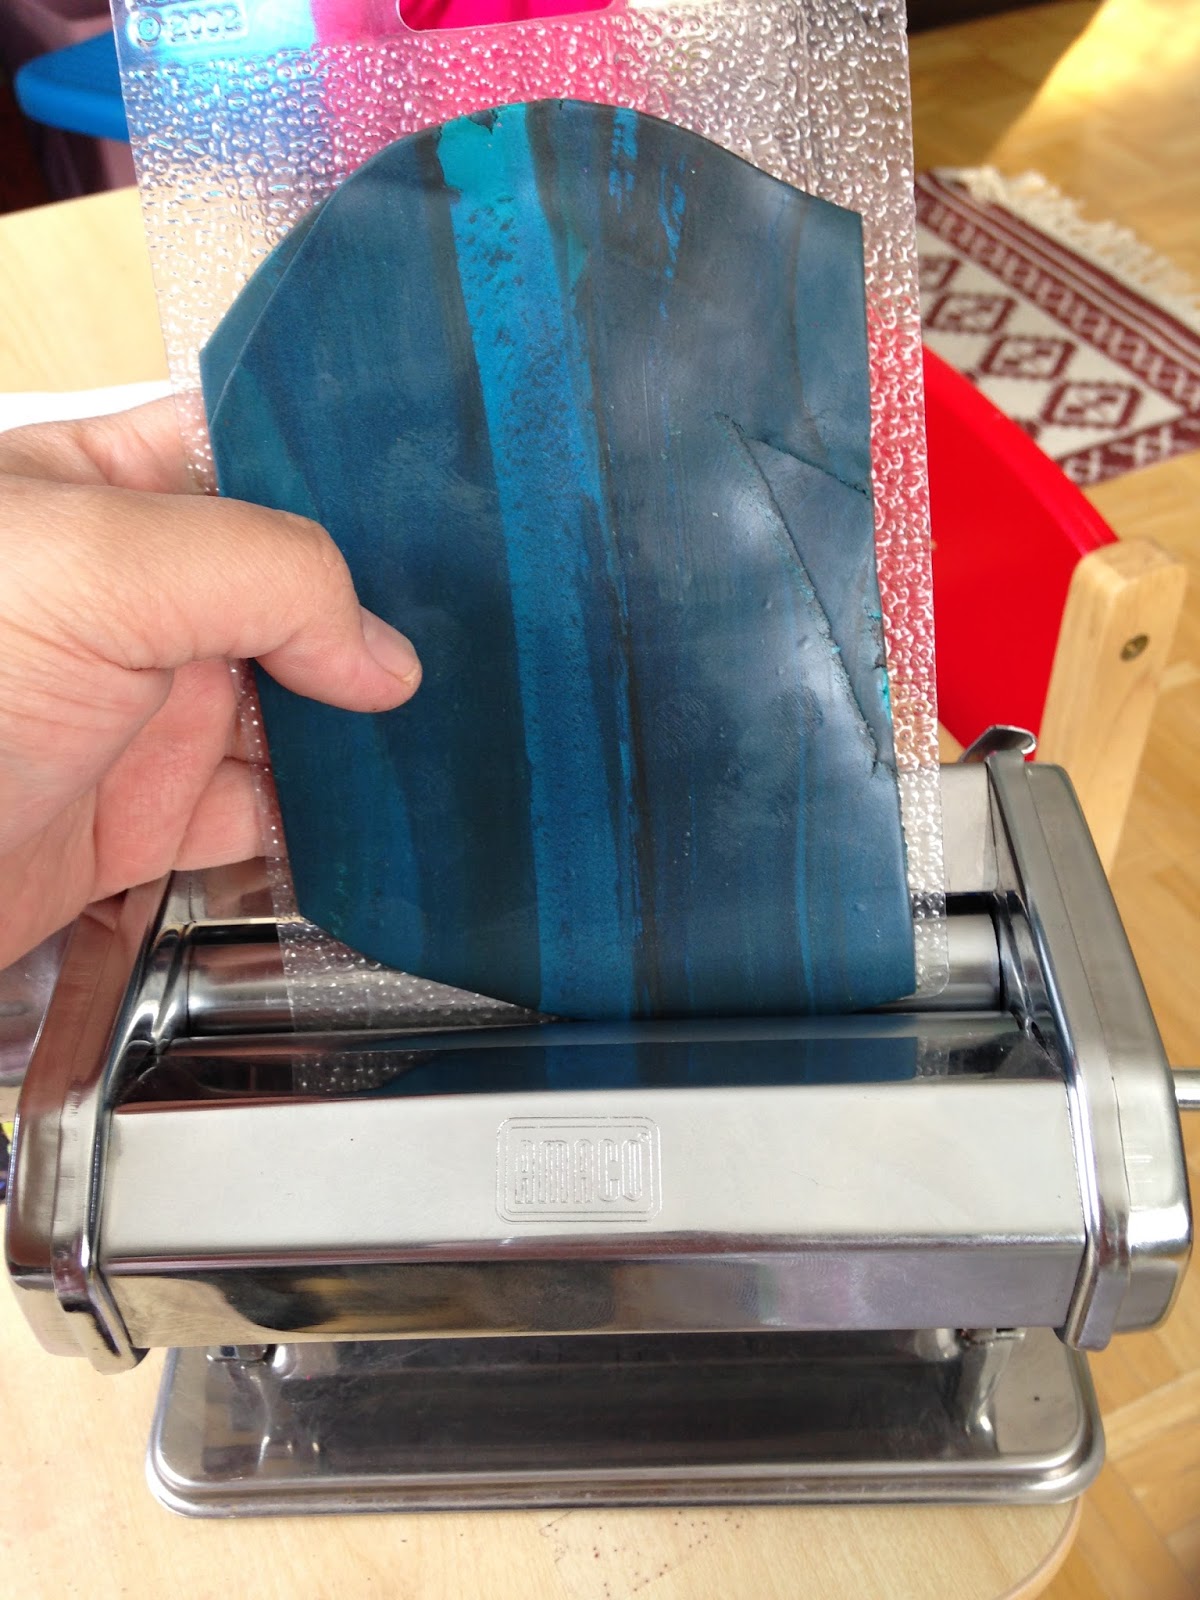
I start my project by conditioning the clay several times in the pasta machine.
In this project I am only using two colours, premo black & peacock pearl.

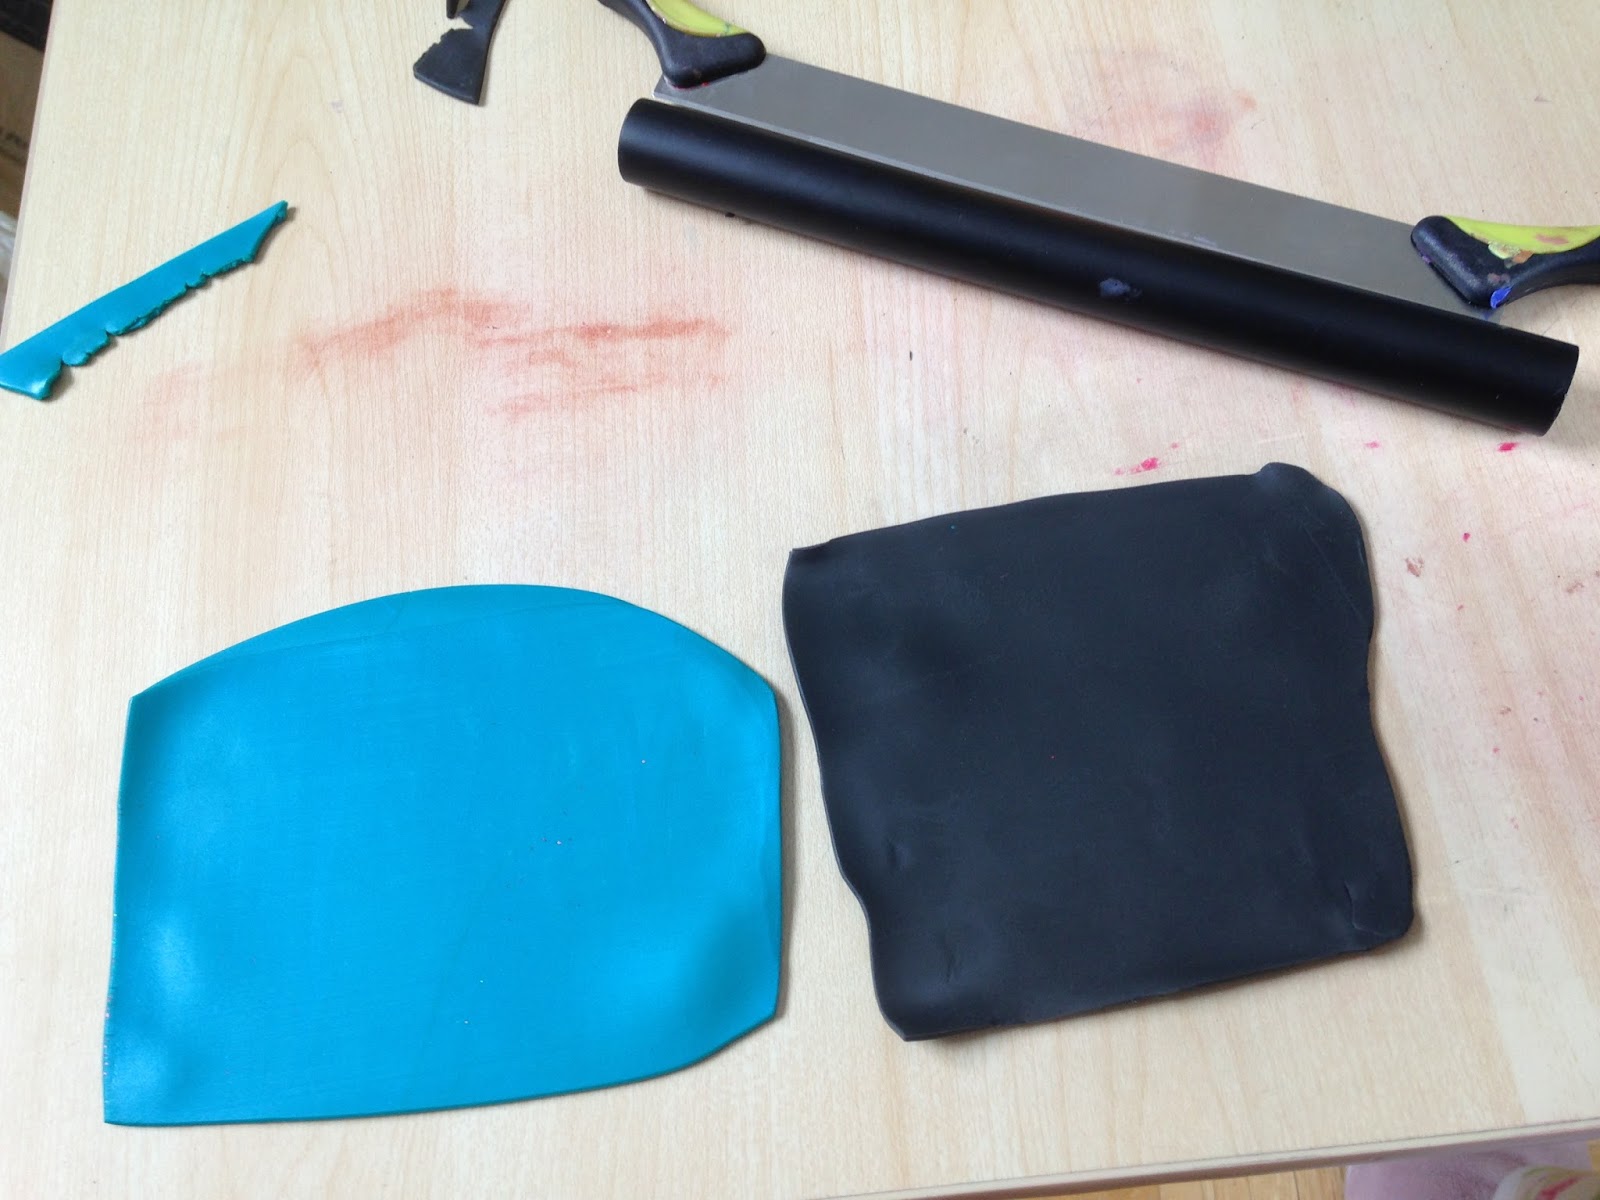
I placed the clay together to combined colours and run it to the pasta machine several times until I am happy on how it looks. Then, I run it once more with the texture sheet.

Once I have the textured clay. I trace pattern all over it with a pencil. You can create
 any pattern you like. 

I used cutting tool to cut around the pattern I created.

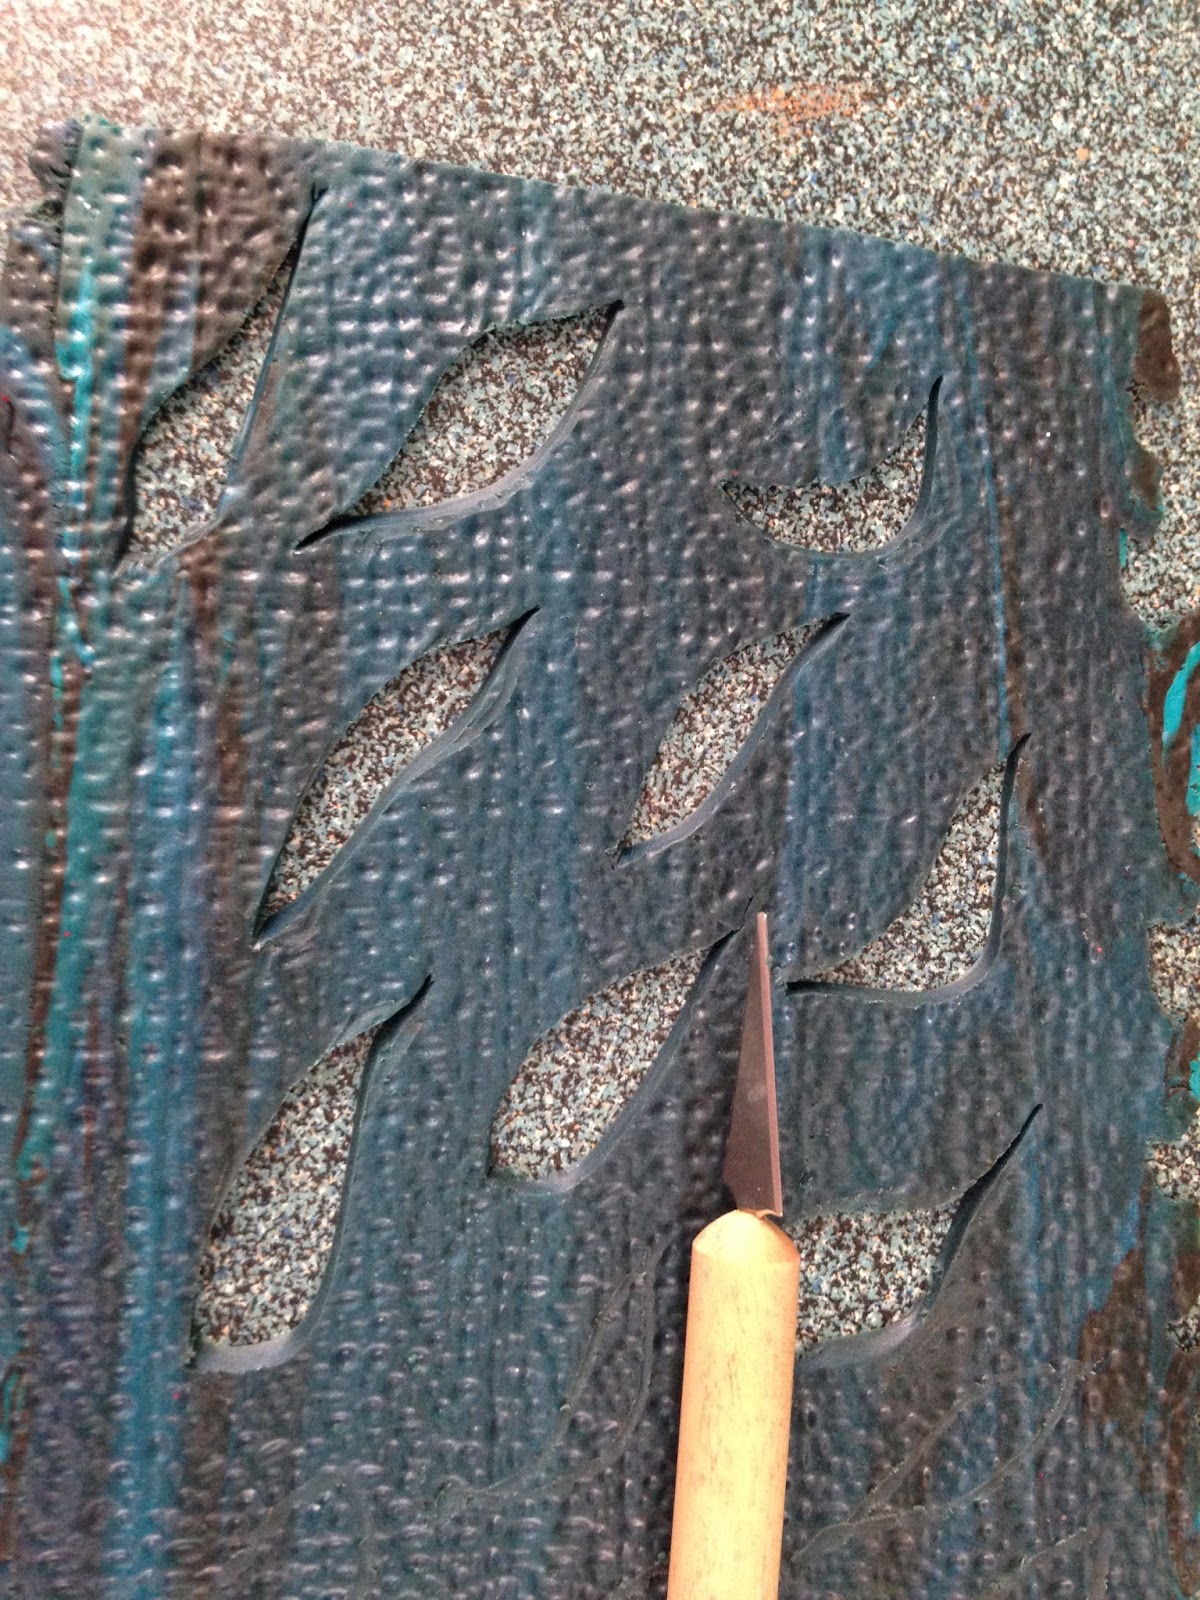
After cutting, I cleaned the edges and sides using the texture sheet. 


Now, it's time to place it on the bottle. I wrap one side of the bottle and I created another patterned clay to cover the other side. 

The bottle I used was a screw cap bottle so,  I have to cover that part. I used the same clay combination and wrap it around it and I added texture using the texture sheet.

To create the impression of a butterfly. I used a rubber stamp from inkadinkado.
My rubber stamp collection for card making comes in handy. 

I cut around the butterfly using the cutter tool. 

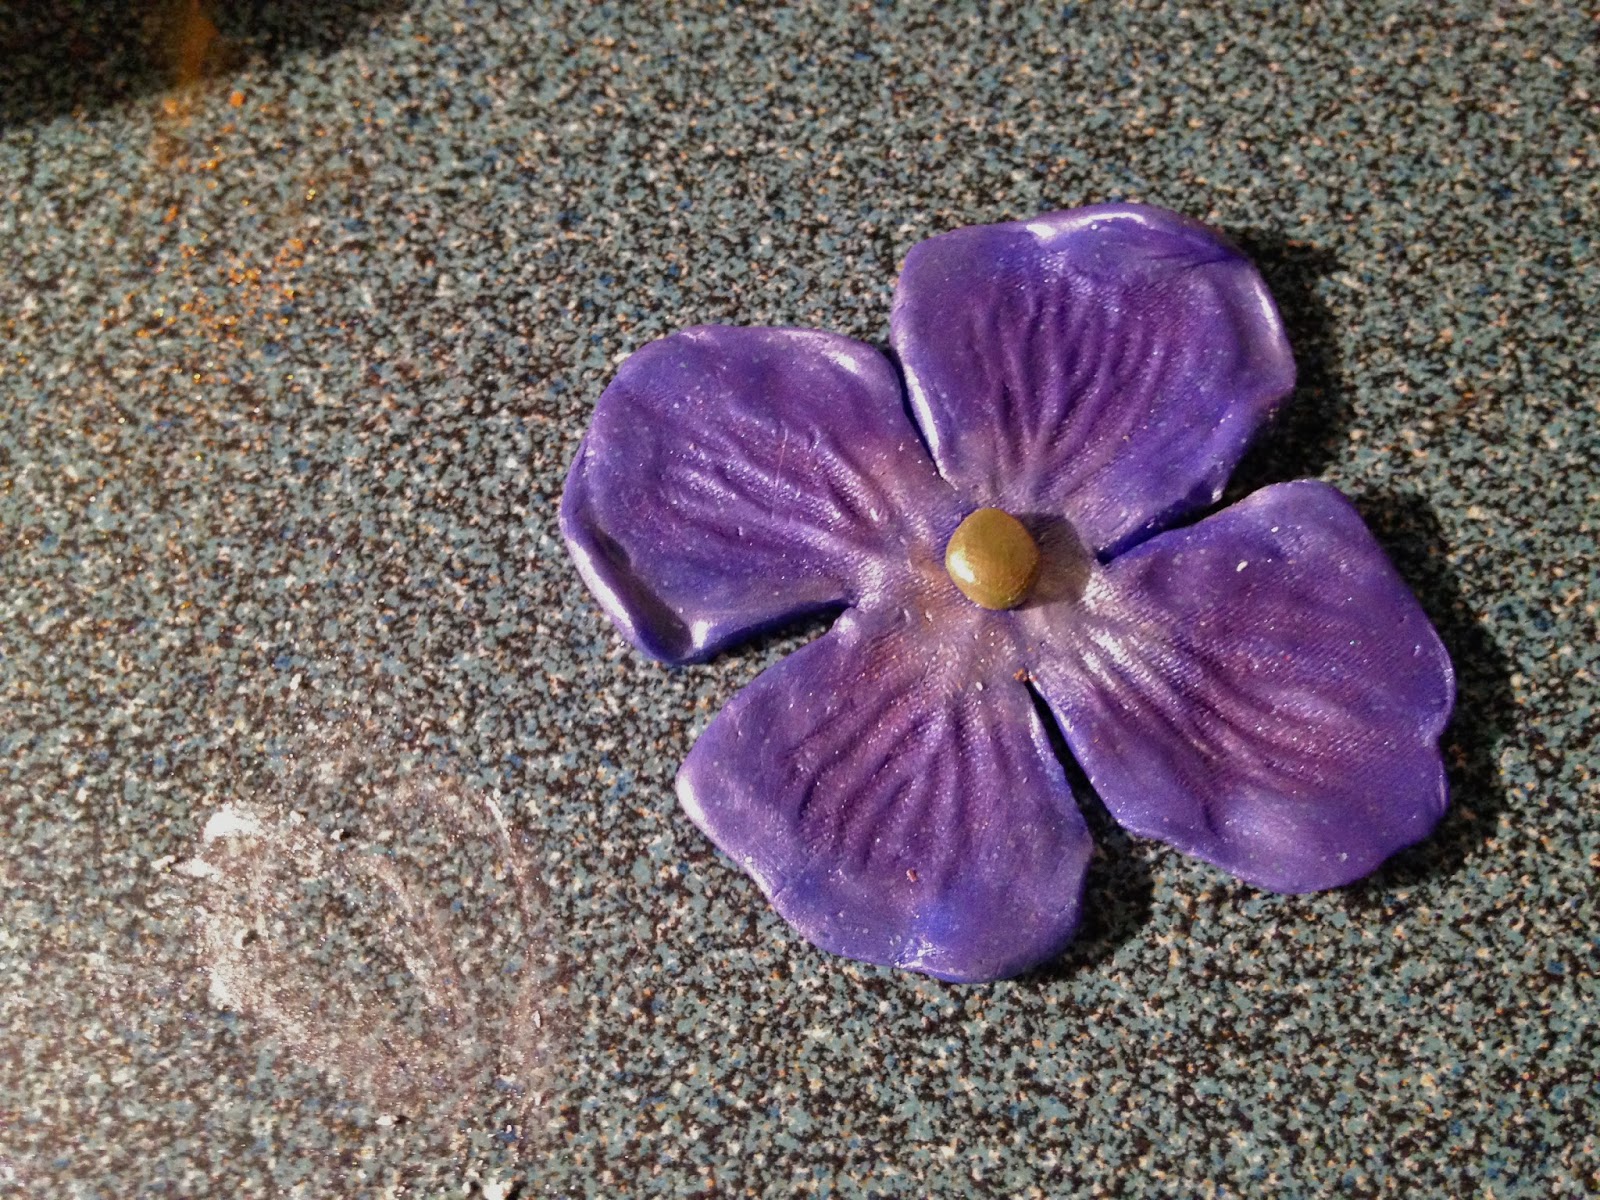
I wanted to create colourful butterfly. I used blue, purple, gold and copper pearl ex pigments. I applied it to the butterfly with a small brush. 

I placed the butterflies on the bottle using polybonder adhesive. I did not placed it flat on the bottle so I wanted to make sure it will stick  after curing. 


After I placed all the butterflies. I used extras of my peacock pearl clay to create round beads everywhere.  I placed small glass beads in the middle.


I cured the bottle at 275C in the oven for 40 mins. 

After it cooled down. I dab small amount of viva inka gold (silver) around the cover to create a metallic look. 

I added some gold Baroque gilders paste (german silver) for effects on my metal cover. 

Last step: I wipe excess of the paste with cotton cloth and then finish it with PYM II.
I strung bronze glass beads and wrap it around the neck of the bottle for accent. 


Finished Project:


This is another Fun project using empty bottle and polymer clay. 
I hope you enjoyed this tutorial and thank you for visiting  my blog.

More designs and ideas coming soon.


Tuesday 18 February 2014

Pretty Hydrangea Polymer Clay Vase

This project is the newest addition to my frosted vases collection. I was working with red and purple hydrangeas this past few days for my sis-in-law's wedding and I thought I should do a project to add to my collection and something to remind me of this wonderful event.

                                                                
                                                              Red & Purple Dream


My inspiration to this project -  Red & Purple Hydrangeas

Materials for this project:
Used glass flower vase 
Glass enamel paint - red & purple
Polymer clay tools
Hydrangea flower & leaf for impression
Polymer Clay - Premo's olive, blue glitter, purple pearl & red accent
Polybonder Adhesive
Pearl ex pigment - red russet, purple, white & gold


Purple, Red, Gold,  Bronze, White Pearl ex pigments


I started my project by cleaning my vase.
I wanted to have a frosted look on my vase so I use crystal enamel gloss purple & red glitters.
Using a sponge, I dab the paint all over the vase. I started out with the purple one
and then accent it with the red colour.

Picture below shows the result of sponging purple and red.
Then I let it dry about an hour.

Next step is to make the hydrangeas. I took one petal from the silk flowers I'm working and use that as a pattern and to create impression.
I use a carving tool to cut around and the ball tool to clean the sides and create a realistic look.
For the puple clay, I combined 1/3 of purple pearl premo clay and 1/2 of the blue glitter premo clay.

This is how it looks after cutting and brushing it with white & purple pearl ex pigment. I added a round olive clay in the middle and brush it with gold pearl ex. 
I made several of these flowers purple & red flowers to cover the vase.  I use the same procedure to create the red hydrangea using red clay & red russet pearl ex, white & gold.

The vase has 2 leaves on each sides. To create the leaves, I used olive clay. I took one of the leaves from the silk flowers I'm working for pattern and impression. Exactly the same technique I used to create the flowers.


I brushed it with gold pearl ex pigment to highlight details on the leaves and white pearl ex all over the leaves to create metallic look.


After I placed all my flower on the vase. I used the extra red and purple clay to create a rope and tied it around the neck of the vase. I thought it will make a great accent to my design.


I secured the rope with polybonder adhesive.

Cured at 275C for 30 minutes and finished it with PYM II


The Finished Product 


This project took awhile to make because of the details. I enjoyed working with this vase and it turned lovely. It can be used as flower vase or just a decor itself. 
It can also be "Beautiful gift from the heart".

Thank you for visiting my blog site.
More designs coming.